Home / All Recipes / Malaysian / Cheesy Pillowy Ogura Cake
Cheesy Pillowy Ogura Cake
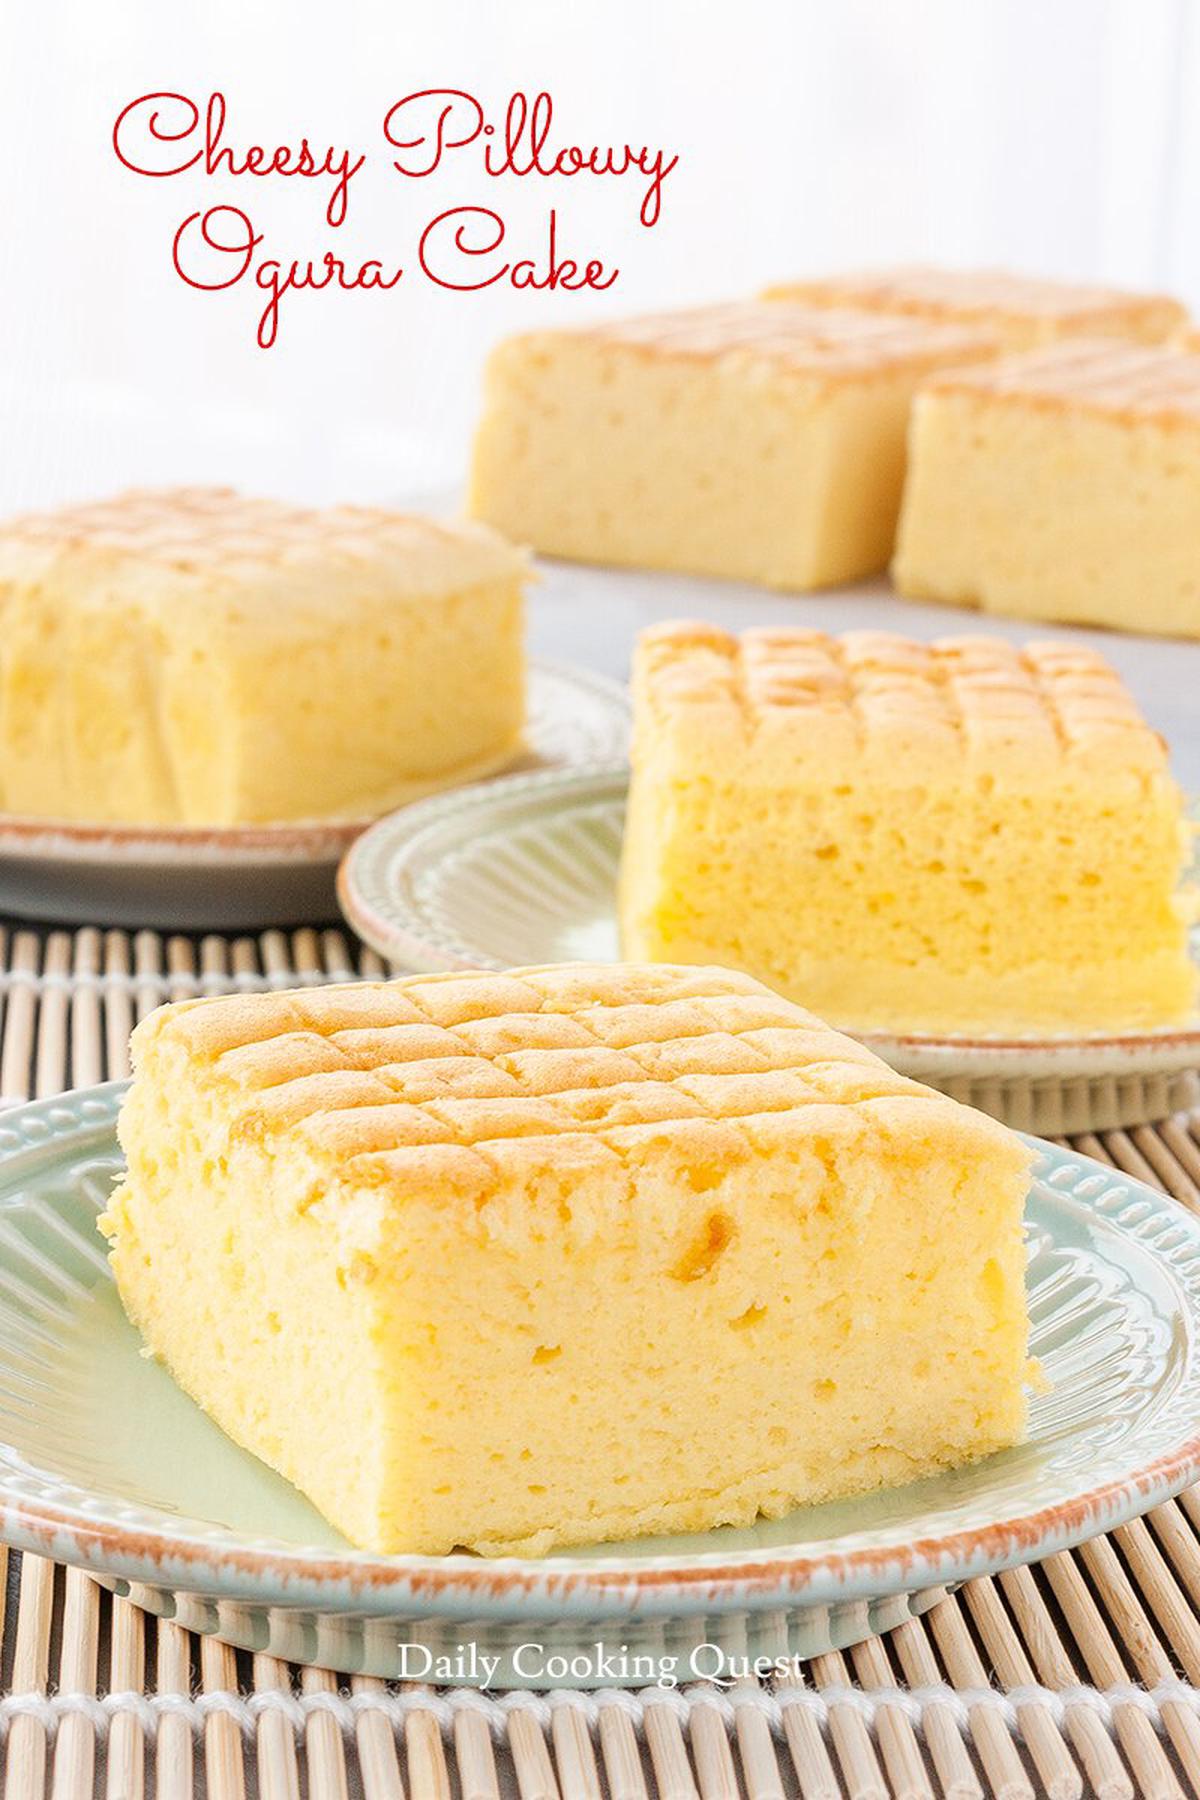
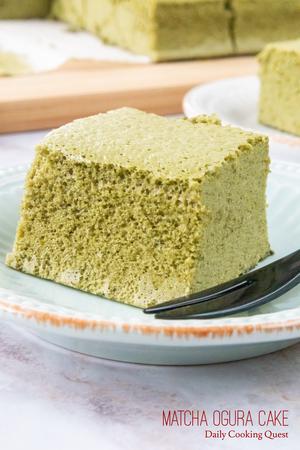
Learn how to bake a proper ogura cake with an impossibly airy and soft texture. This version with parmesan and cheddar is just perfect for cheese lovers.
I have been dying to try out ogura cake every since they got popular back in the early 2000’s. Despite its Japanese sounding name, this cake hails from Malaysia. The best texture I can describe when you bite into a piece of ogura cake is its impossibly airy and soft texture. Though it looks like sponge cake, it is closer to a chiffon cake. And since I have tons of cheese sitting around in my home right now, I decided to bake this cheesy pillowy ogura cake.
First technique: beat your eggs properly
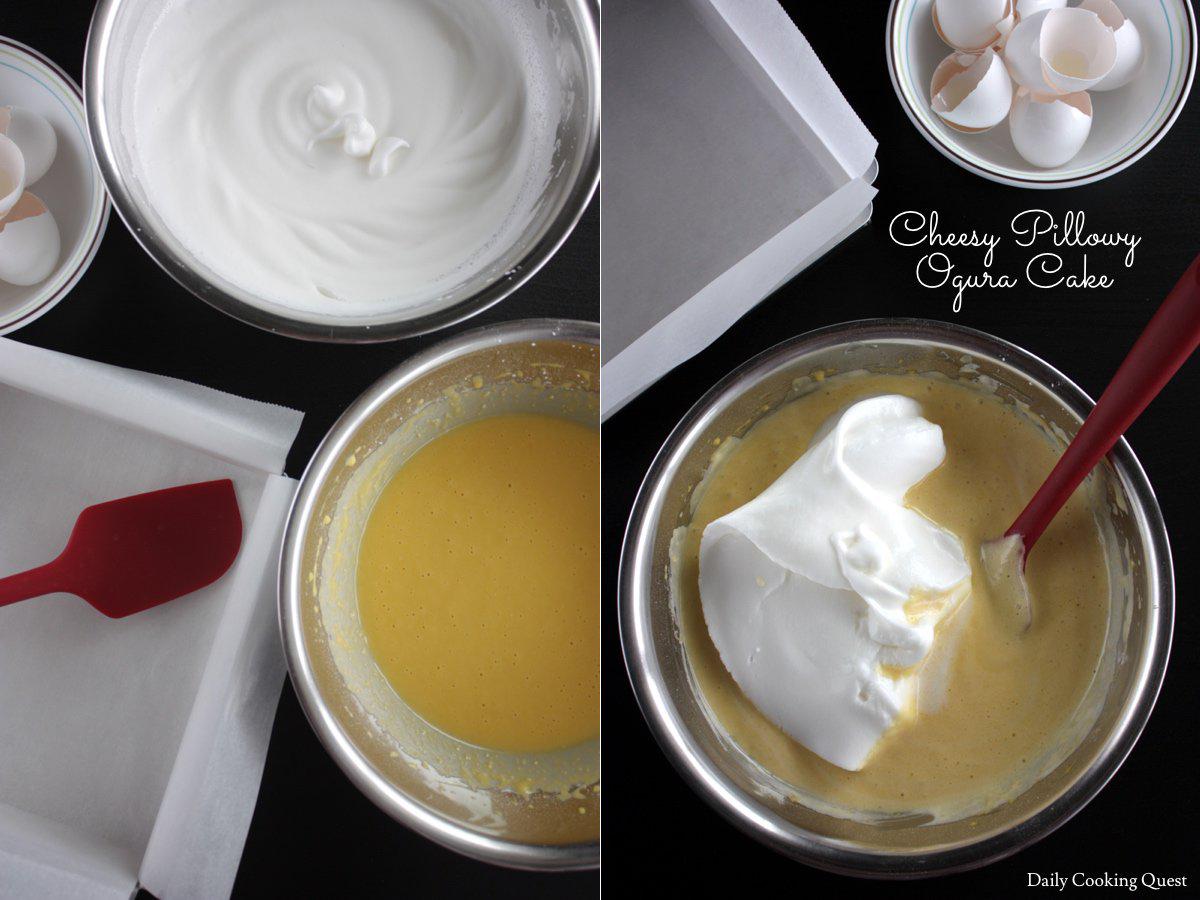
Baking an ogura cake is all about mastering the right techniques, and the first is making sure to beat your eggs properly. You will need two mixing bowls for this.
The first mixing bowl has your egg whites, cream of tartar, and sugar. This you need to whisk until stiff, roughly around a medium peak is good.
The next bowl is where you add have everything else (minus flours) and beat until thick, then add the flours and whisk just until combined.
Next, fold the egg white batter into the egg yolk batter in three additions.
Second technique: line your pan
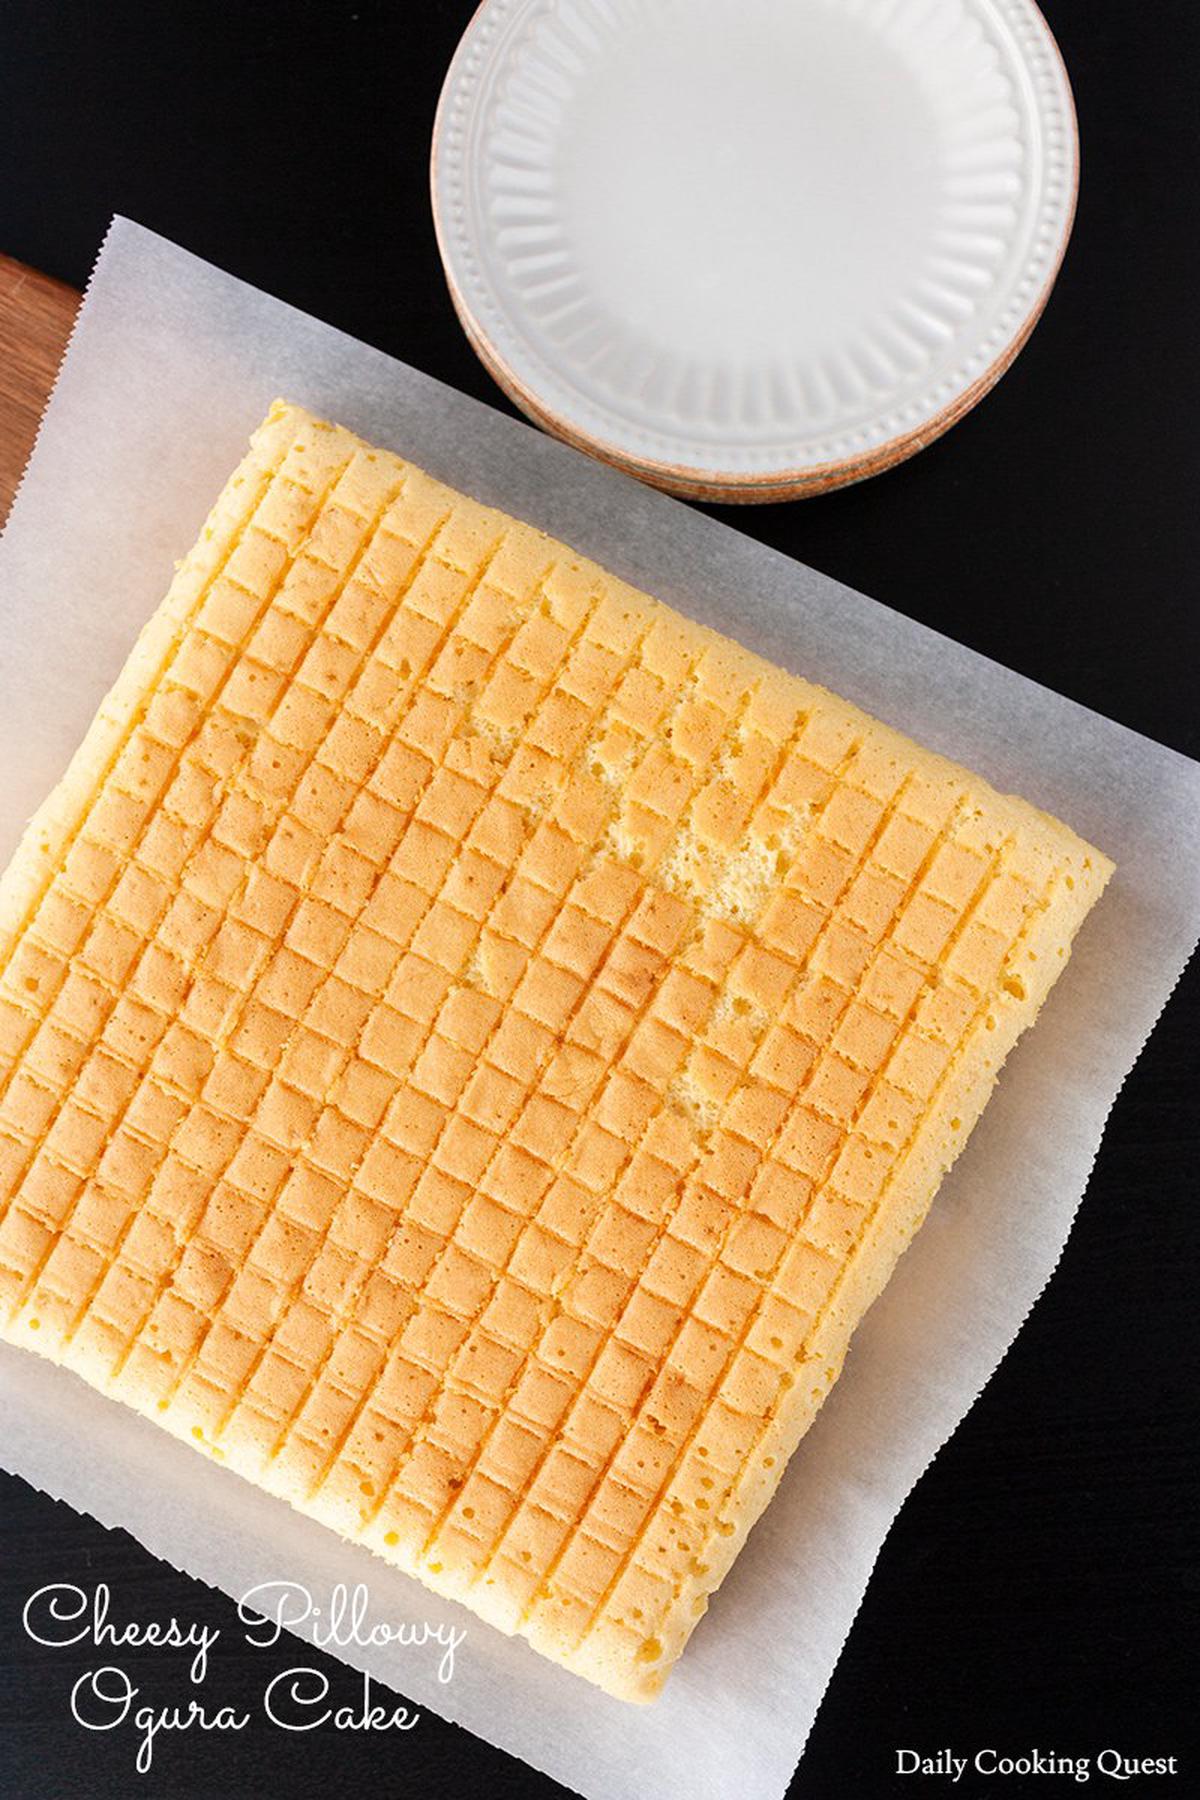
You want to use an 8"x8" square cake pan and you must line it with parchment paper. Why? Because it is the easiest method to remove the cake without them sticking to the pan. And I always make sure the parchment hangs over the pan so I can grab the paper and remove the cake easily.
Now, if your batter was properly mixed, you will notice air bubbles when you pour the batter into the pan. These air bubbles are key to produce that elusive pillowy texture. If you don’t see air bubbles when pouring your batter, it is almost a guarantee your cake will be dense.
Third technique: au bain marie
Ogura cake must be baked with au bain marie method. It sounds so complicated, but it simply means you place your cake pan onto a baking sheet. Then, you pour hot boiling water to fill the baking sheet to about 1/2" deep.
It is best if you pour your water with kettle, or something that has a proper spout, like a measuring cup, just to make sure you don’t accidentally pour hot water into your cake pan!
Anyway, au bain marie simply means we not only bake the cake, but we steam it at the same time. If you do all the above, you should end up with a great ogura cake. So have fun baking, and who say you cannot eat the cake too!

Cheesy Pillowy Ogura Cake
Ingredients
- Egg yolk batter
- 1 egg
- 5 egg yolks
- 2 tablespoon (~ 20 gram) grated parmesan
- 3 tablespoon (~ 30 gram) grated cheddar (I use sharp Cheddar)
- 1/4 cup vegetable oil
- 1/4 cup milk
- 60 gram all purpose flour + 5 gram corn starch, whisk together
- Egg white batter
- 5 egg whites
- 1/4 teaspoon cream of tartar
- 80 gram (~ 5 tablespoon) sugar
Instructions
- Preheat oven to 320 Fahrenheit (160 Celsius), boil a kettle of water, and line an 8"x8"x2" square cake pan with parchment paper.
- Egg yolk batter: in a large mixing bowl, beat 1 egg, 5 egg yolks, parmesan, cheddar, vegetable oil, and milk until thick and slightly pale. Add in the flour mixture and whisk until just mixed.
- Egg white batter: in a large mixing bowl, whisk egg whites and cream of tartar until foamy. Add sugar in three batches, and keep on whisking until stiff, stop when it reaches medium peak.
- Fold in the egg white batter to the egg yolk batter with a spatula in 3 stages. Make sure you use folding method so you don't destroy the air bubbles.
- Pour the batter to the lined cake pan.
- Place a baking sheet (I use a half sheet pan) in the middle rack of the oven, and place your cake pan on the baking sheet. Pour hot boiling water from the kettle onto the baking sheet (not your cake pan!) so the water fills about 1/2" of the baking sheet.
- Bake for about 55 minutes to 1 hour, or just until the cake is golden brown, and a cake tester comes out clean.
- Remove the cake from the oven. Gently flip the cake onto a wire rack, and very gently peel away the parchment paper from the cake. Place another wire rack on the cake (the bottom side of your cake), and flip once more so the right side (upper part of the cake) is now facing up.
- Let the cake cool to room temperature, and cut into 9 serving pieces.


Comments
Love the texture of this cake, looks so fluffy and pillowy! All your tips are so helpful, need to try this one soon.
This is surely a try for me. I am a lover of cheese and this looks so perfect and interesting. Thanks for this recipe.
WOW this cake looks so fluffy and delicious! Perfect with a cup of coffee!
This sounds lovely! I love the word pillowy - especially when used to describe a cake. I can only imagine the lovely texture :)
Wow this recipe is just impressive and beautiful! Simple, expressive and delicious!!
This was so delicious and easy to make - thank you!
Now this is a way to impress your guests. Looks incredible.
What a light and fluffy cake! We all enjoyed it!
This cake has such a soft and pillowy texture!
This looks so pretty and so yummy.. I want to try it very soon.
Is it ok if I use cheddar instead of cheddar + Parmesan? Would it impact the texture?
Hi Sam, I think it should be okay, and the cake texture should stay the same.
This cake is something new to me. Sounds interesting. Will try this soon.
you had me at cheesey. I have never seen anyting like this before, but it looks delicious.
Wow what an interesting pillow-y bread! I'd love to try this! Thanks for the gorgeous recipe the photos are so enticing!
One thing I haven't been cooking much is ogura cake. Love how easy this recipe is - at least you make it sound very easy to follow, which is great!
This is an amazing recipe! I must have been hiding under a rock because I wasn't familiar with this cake but I am definitely ready to try one after reading your blog post. I love trying new things.
Can I substitute the all purpose flour with super fine (low protein) flour ? What’s the measurement of corn starch if I would want to use super fine flour in this recipe?
Amy, I would use 65 gram super fine/low protein/cake flour and completely omit the cornstarch. :)
Hi! would it be ok to use 8in round pan with the same heat setting?
Hi Ivy, an 8-inch round pan has a smaller volume compared to an 8-inch square pan. Please use a 9-inch round pan instead. You can bake the cake in the 9-inch round pan at the same temperature and baking time.
Leave a comment