Home / All Recipes / Japanese / Ichigo Daifuku - Strawberry and Red Bean Mochi
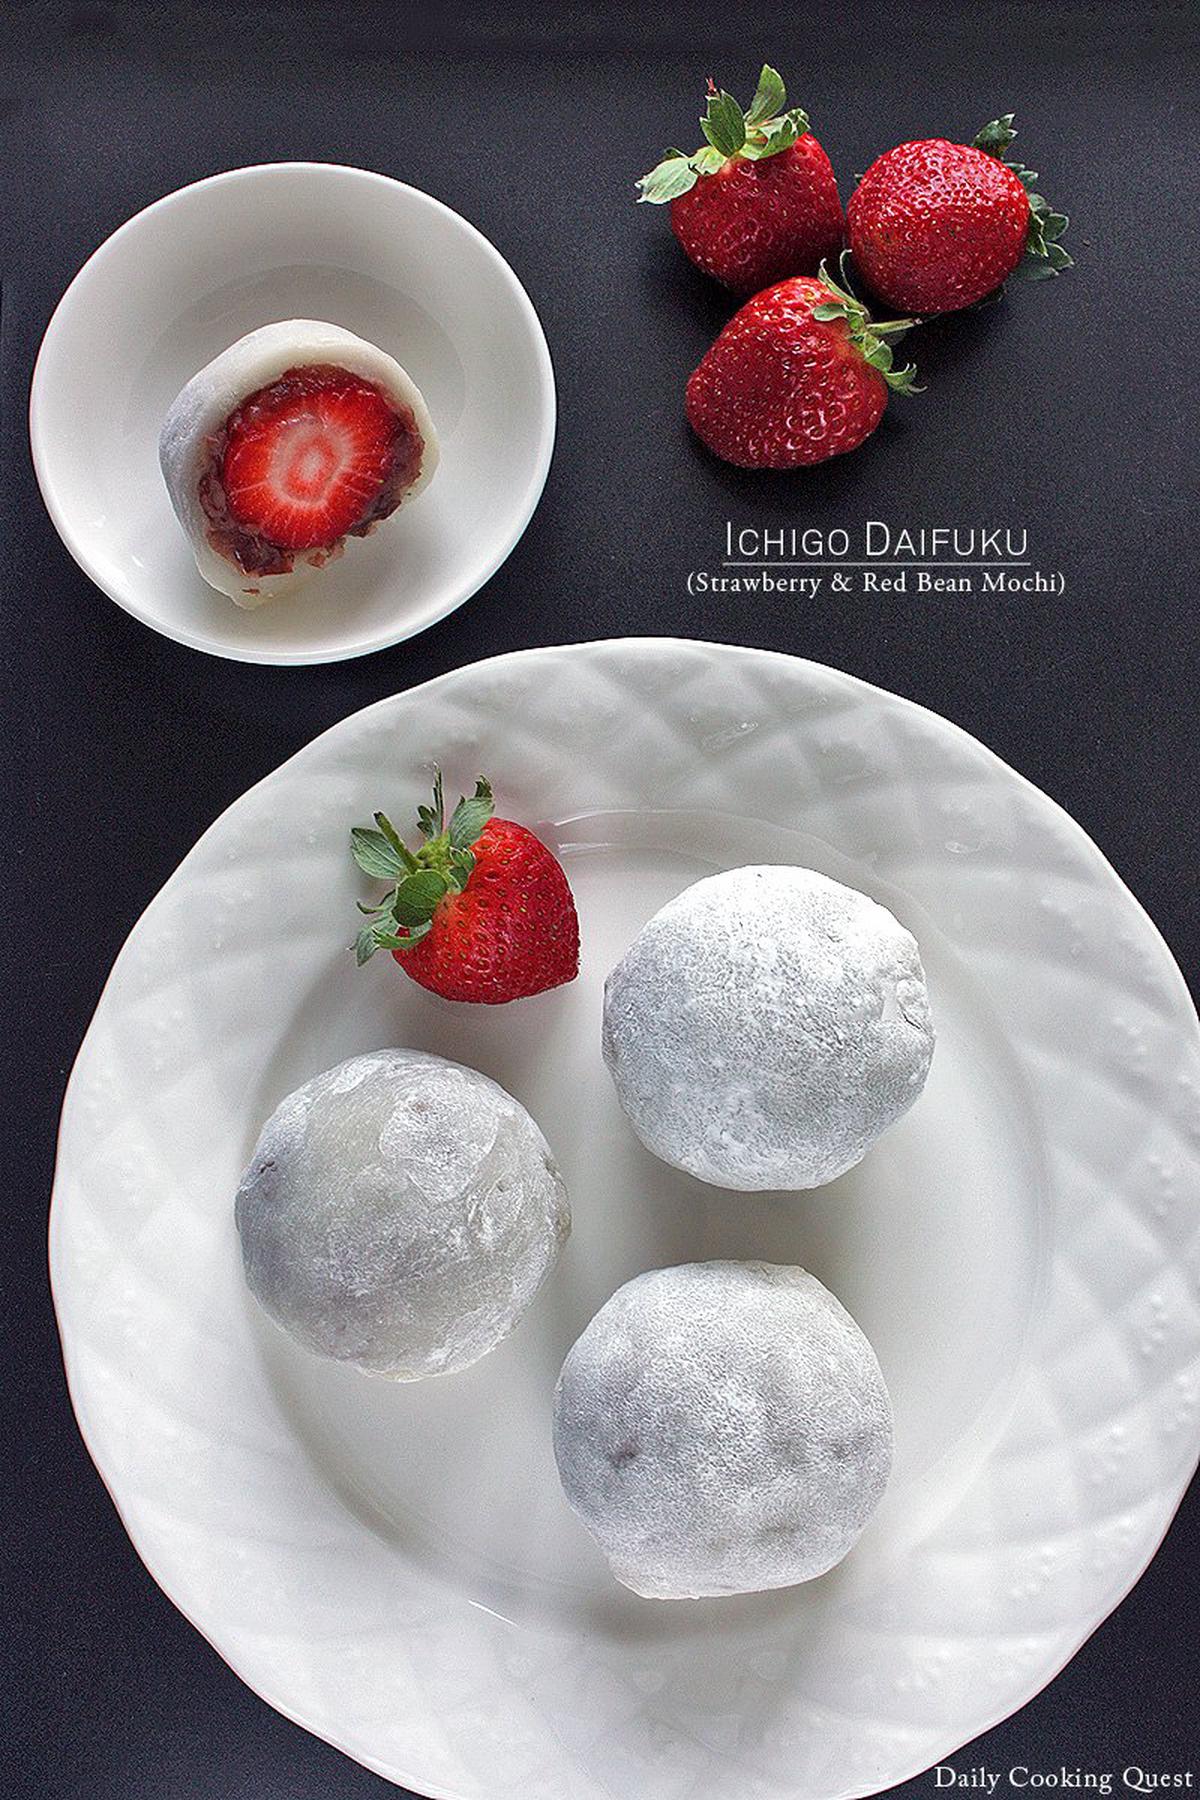
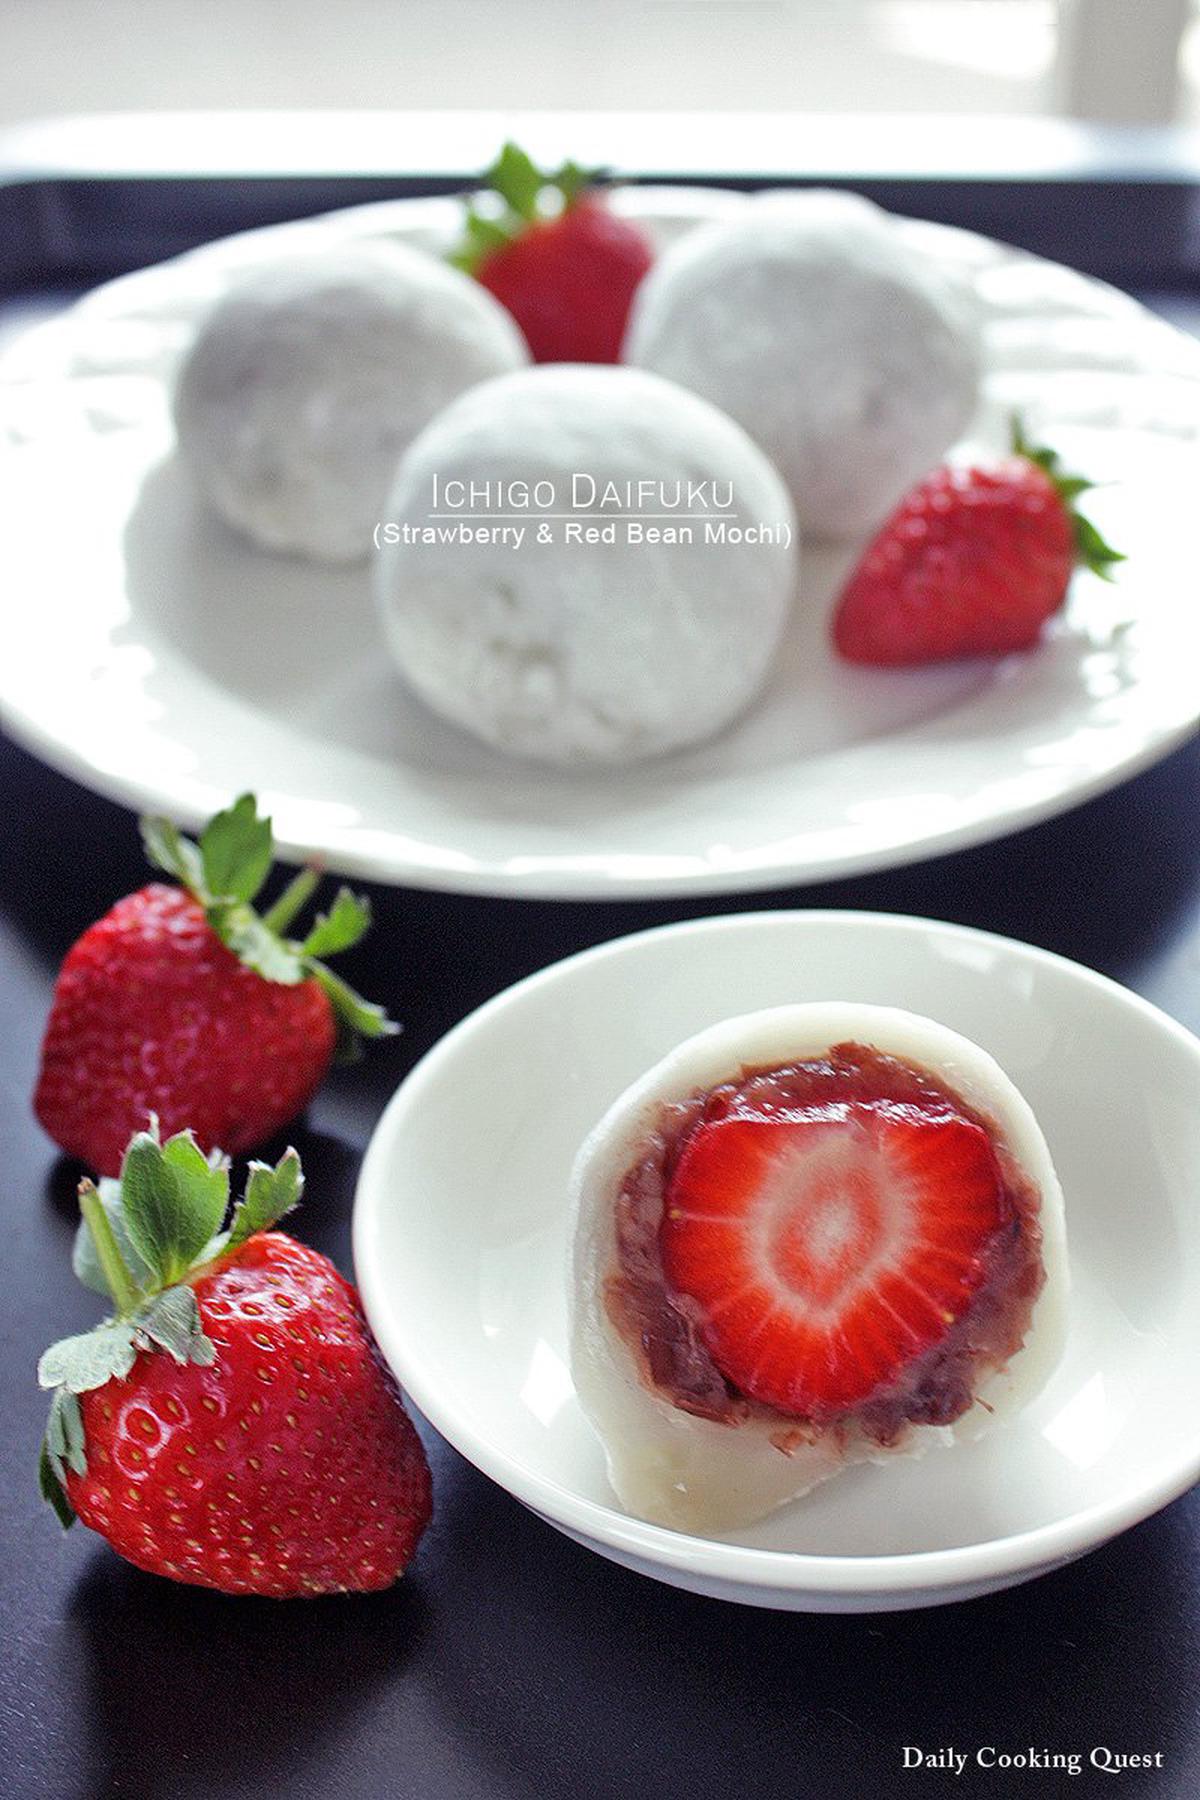
Ichigo Daifuku - Strawberry and Red Bean Mochi
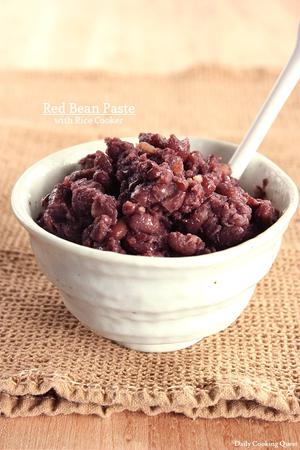
I am on a roll and having fun with my home made azuki an (Japanese sweet red bean paste). After turning some into delicious red bean and strawberry jelly, I still have leftover to play with. Plus, I happen to have some fresh strawberries in the fridge, so I decided to make some Japanese mochi, the one with strawberry and red bean paste, better known as ichigo daifuku.
This recipe is originally covered by Nami of Just One Cookbook, one of my favorite Japanese cuisine food blogger. She has a really great step-by-step tutorial on making the mochi, so check out her blog if you need more help with the mochi preparation. ♥
Ichigo Daifuku - Strawberry and Red Bean Mochi
Ingredients
- Filling
- 150 gram sweet red bean paste (Japanese: azuki an)
- 6 fresh strawberries, hulled, washed and dried
- Mochi
- 100 gram glutinous rice flour (Indonesian: tepung ketan, Japanese: shiratamako)
- 2 tablespoon sugar
- 150 ml drinking water
- tapioca starch/corn starch
Instructions
- Divide azuki an into 6 equal portions. Cover each of the strawberry with a portion of azuki an, try making it as round as possible. Set aside.
- Place glutinous rice flour and sugar in a microwave proof bowl. Pour water in three batches and mix well with a spatula, making sure to remove all the lumps and you get a homogenous batter.
- Cover the bowl loosely with a saran wrap. Microwave on 600 Watt for 1 minute. Mix well with a wet spatula. The mixture will be still runny and floury.
- Cover again with the saran wrap and microwave for the second time on 600 Watt for 1 minute. Mix well with a wet spatula. By now, the batter should start to really look like mochi, but the color is still whitish and looks floury.
- Cover again and microwave for the last time. This time, it will be on 600 Watt for 45 seconds. If the mochi has a translucent texture, it is done.
- Sift some tapioca starch/corn starch onto a baking tray and place the mochi on top, taking care that the mochi (and the bowl) is still very hot.
- With a spatula/scrapper, fold the mochi in half (so it won't be too sticky), then divide the mochi into 6 equal portions.
- To assemble your ichigo daifuku, take a portion of the mochi and gently flatten and expand into 3 inch diameter disc. Place one portion of the strawberry and red bean paste filling at the center of the mochi disc, then gather the mochi and pinch together to completely seal the filling. Gently shape the mochi as round as possible. Repeat for the rest of the mochi.
- Mochi are best served immediately at room temperature, but it should keep well for a day or two maximum (avoid putting them in the fridge).


Comments
Mau tanya, kalo nggak ada microwave, bisa dipanasin di oven aja nggak ya tepung ketannya?
Hi Yositako, mochi bisa dikukus juga kalau ga ada microwave. Caranya bisa mengikuti <a href="http://www.japanesecooking101.com/sweet-mochi-recipe/" title="Sweet Mochi Recipe" target="_blank" rel="nofollow">resep ini</a> yah. :)
Thank you so much. I love your blog and have been pinning away your recipes onto my Food board on Pinterest :)
Oiya, lupa tanya. Itu yg resep rujukannya kan pake Mochiko. Apa bisa diganti dengan tepung ketan? Thanks in advance ya.
Harusnya bisa kok Yositako :)
This looks so amazingly good, I love anything with strawberries in it! Thanks for sharing :D
Leave a comment