Home / All Recipes / Indonesian / Pandan and Coconut Milk Layered Agar
Pandan and Coconut Milk Layered Agar
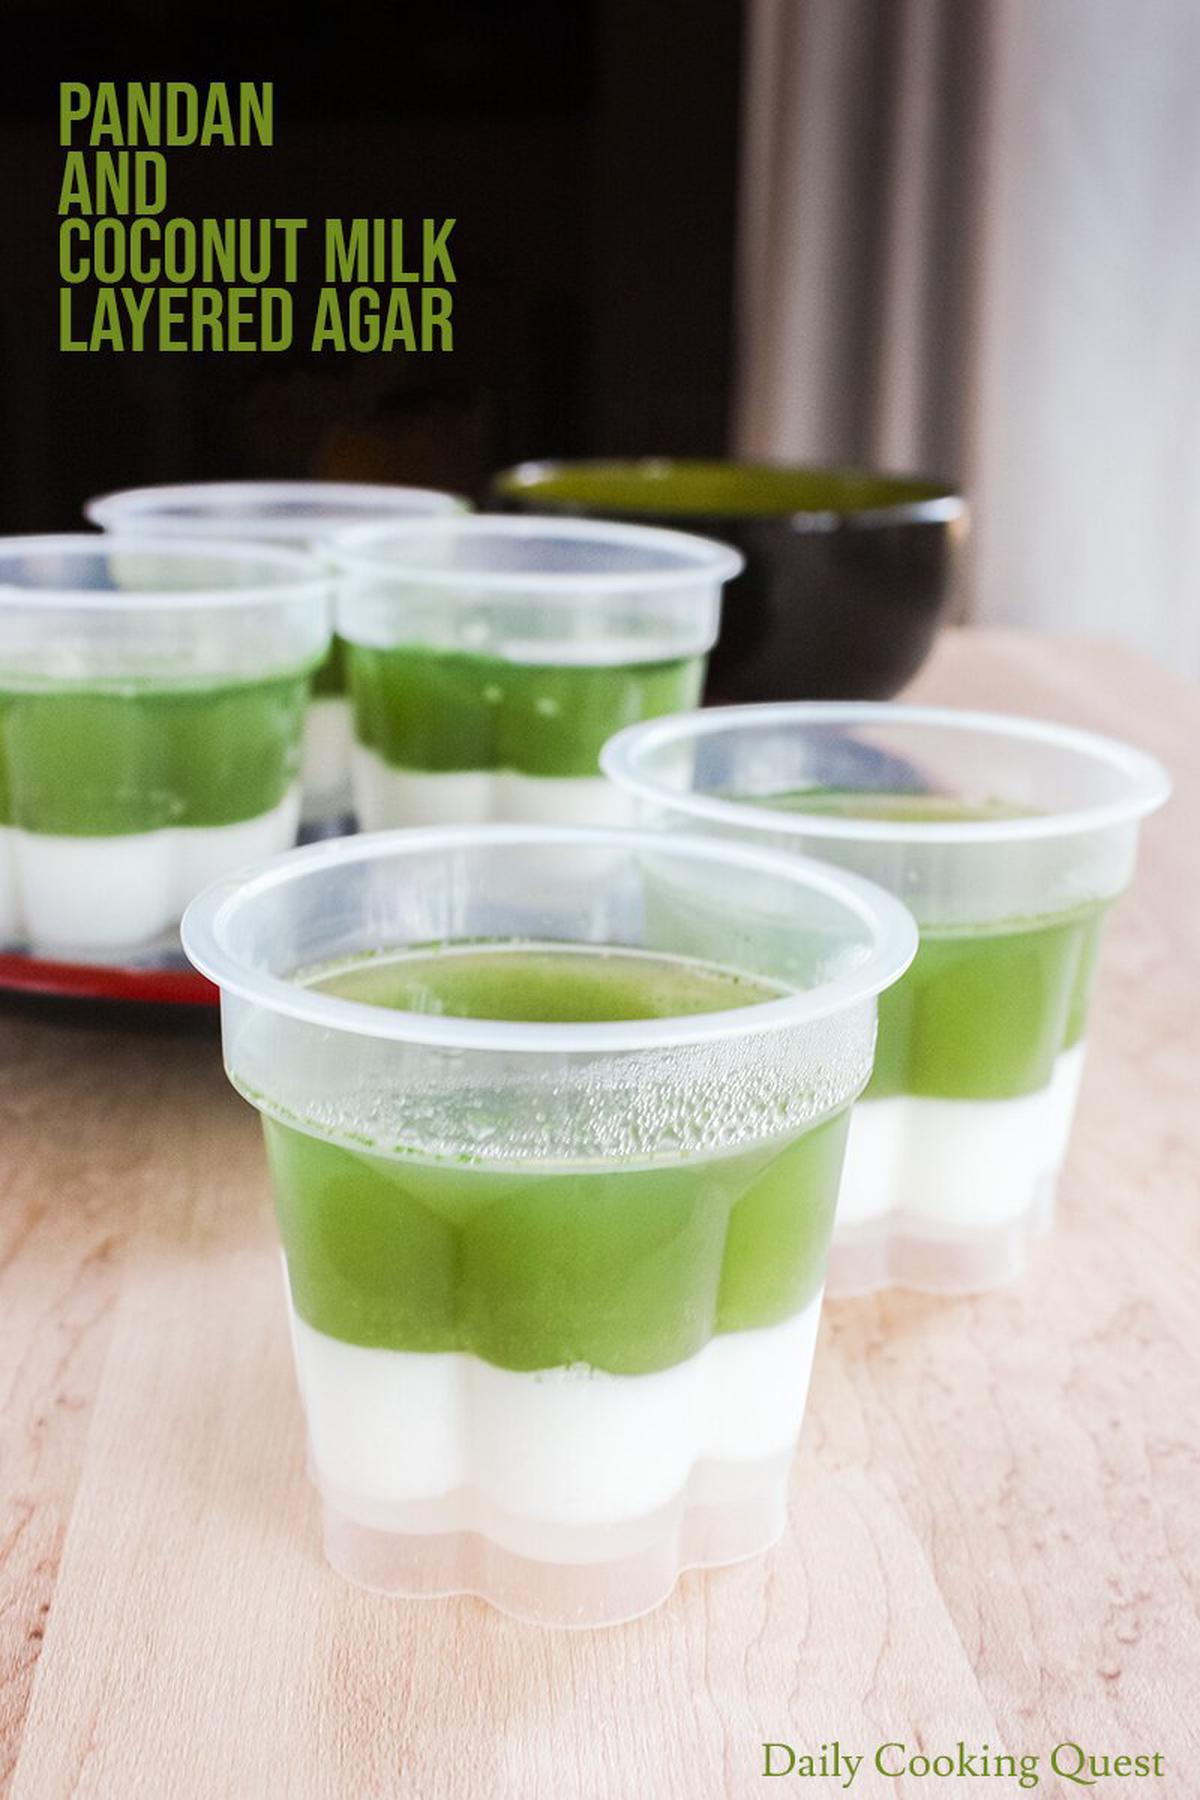
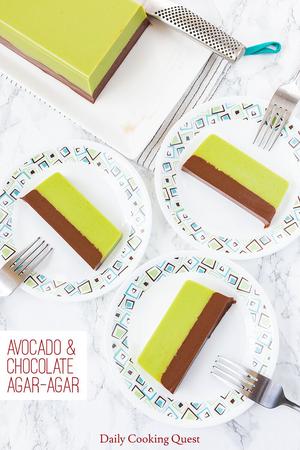
A green and white Indonesian pandan and coconut milk layered agar that is easy enough for midweek, yet impressive enough for a party. Plus, they happen to be vegan friendly and gluten-free!
The green and white color combination from pandan and coconut milk layered agar is a very common theme in many Indonesian desserts. With these two colors, you can keep it simple by making two layers as shown in this post, which I think is perfectly okay for midweek desserts. For special occasions, you can try making an elaborate multi layer version by alternating white and green layers like this puding lapis that will definitely impress any guest.
Make fresh pandan extract
To start, you will need to hunt down some fresh pandan leaves, frozen ones are okay since this is what I use for this recipe. But if you can get your hand on some fresh leaves, use that! Here is the step-by-step to make fresh pandan extract:
- Measure 50 gram of pandan leaves, use a pair of scissors to cut them into super thin strips, the thinner the better since the leaves are really fibrous and you don’t want to kill your blender pureeing them.
- Put the cut pandan leaves and 1 cup of water into a blender and start pureeing until the leaves are completely pulverized. If you have a powerful blender like Vitamix, this will be done in seconds. If you have sub $20 blender, you need to be patient since it can take up to 10 minutes to fully pulverize the leaves.
- Grab a strainer and squeeze out all the juice to get a natural pandan extract. I usually repeat this step twice to get a thick first press, and a second thinner press. For making agar, 2nd press is sufficient, but if you aim to use the extract for making cakes, then you really want to stick to using the 1st press.
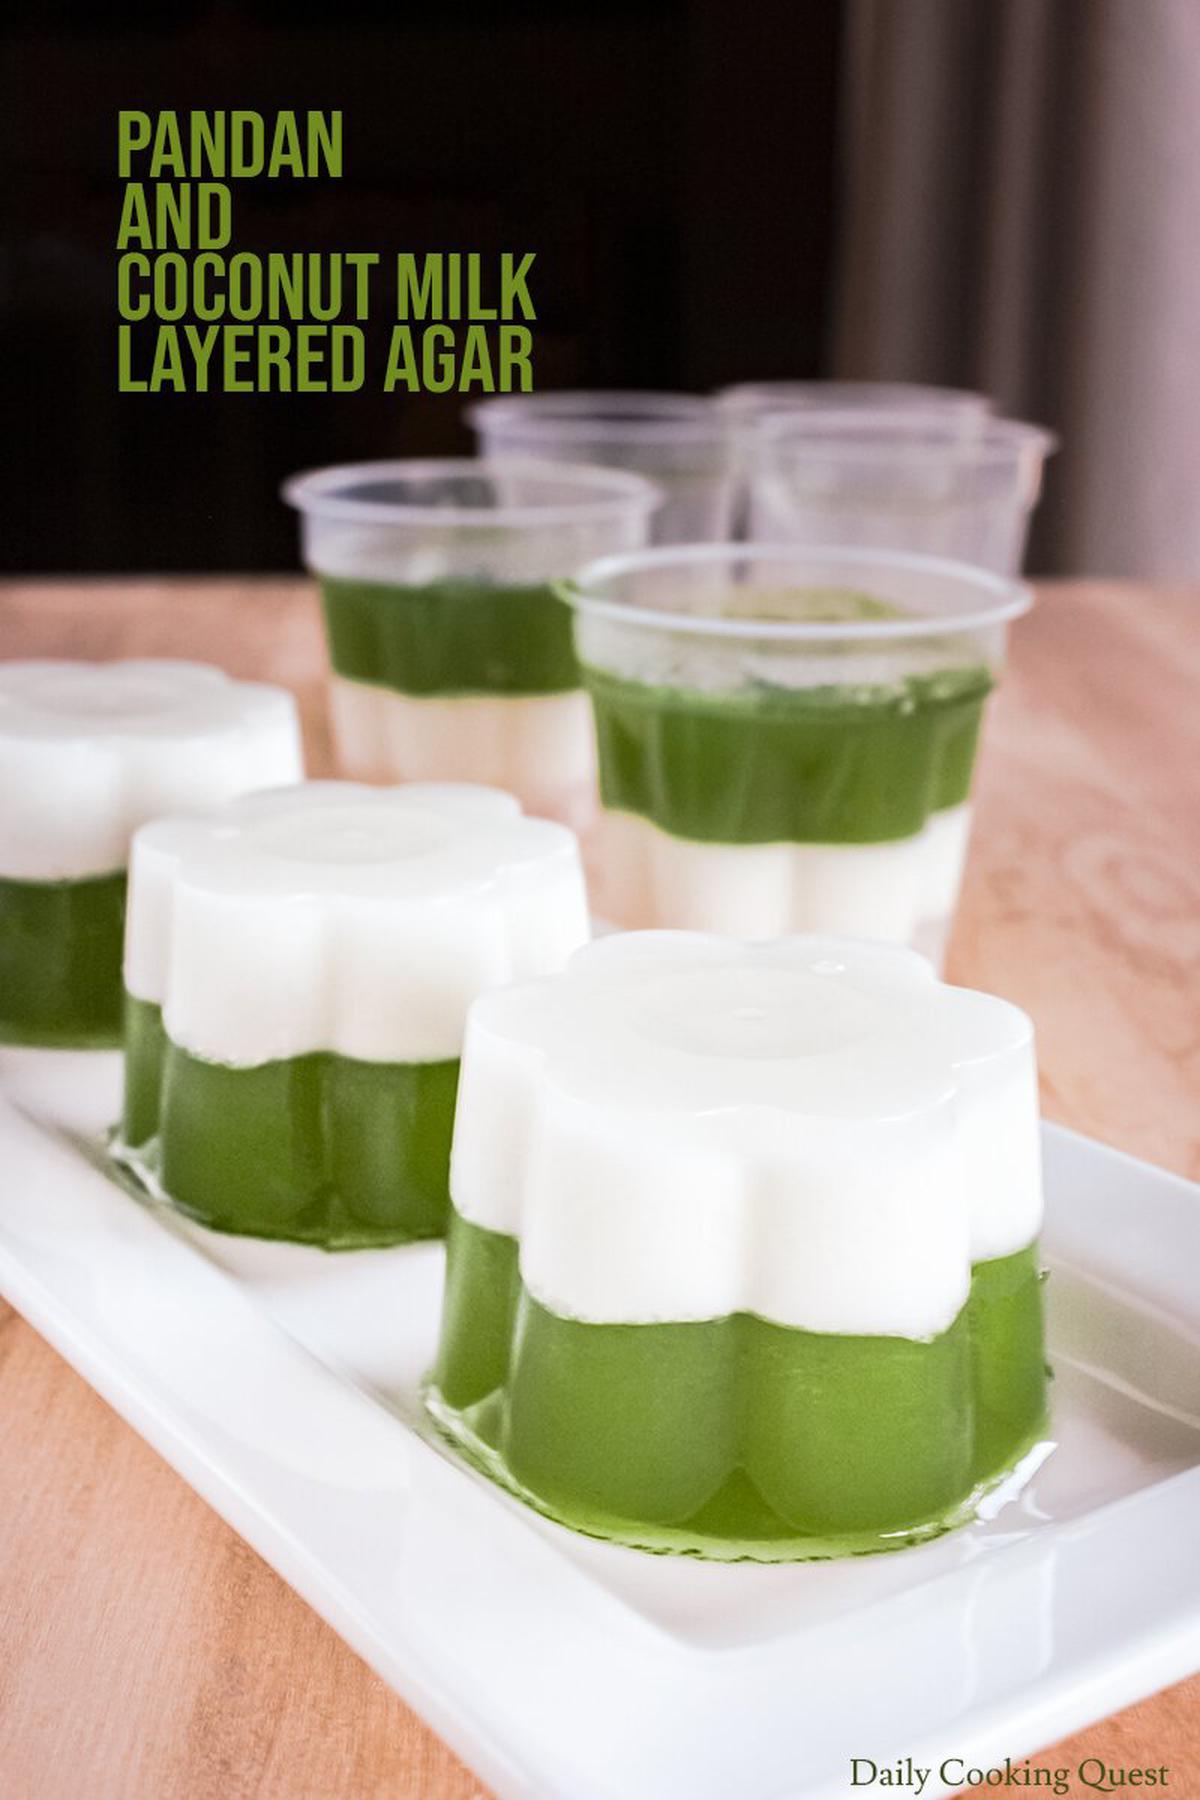
Use agar-agar powder
The most widely available brand of agar-agar powder in Indonesia is Swallow brand. If that is what you are using, be sure to select the clear (colorless) version.
The Swallow brand agar-agar powder is hard to come by in United States, in which case, you can try using Now Food agar powder, which is my go-to agar powder when I am in the US.
Use pretty moulds
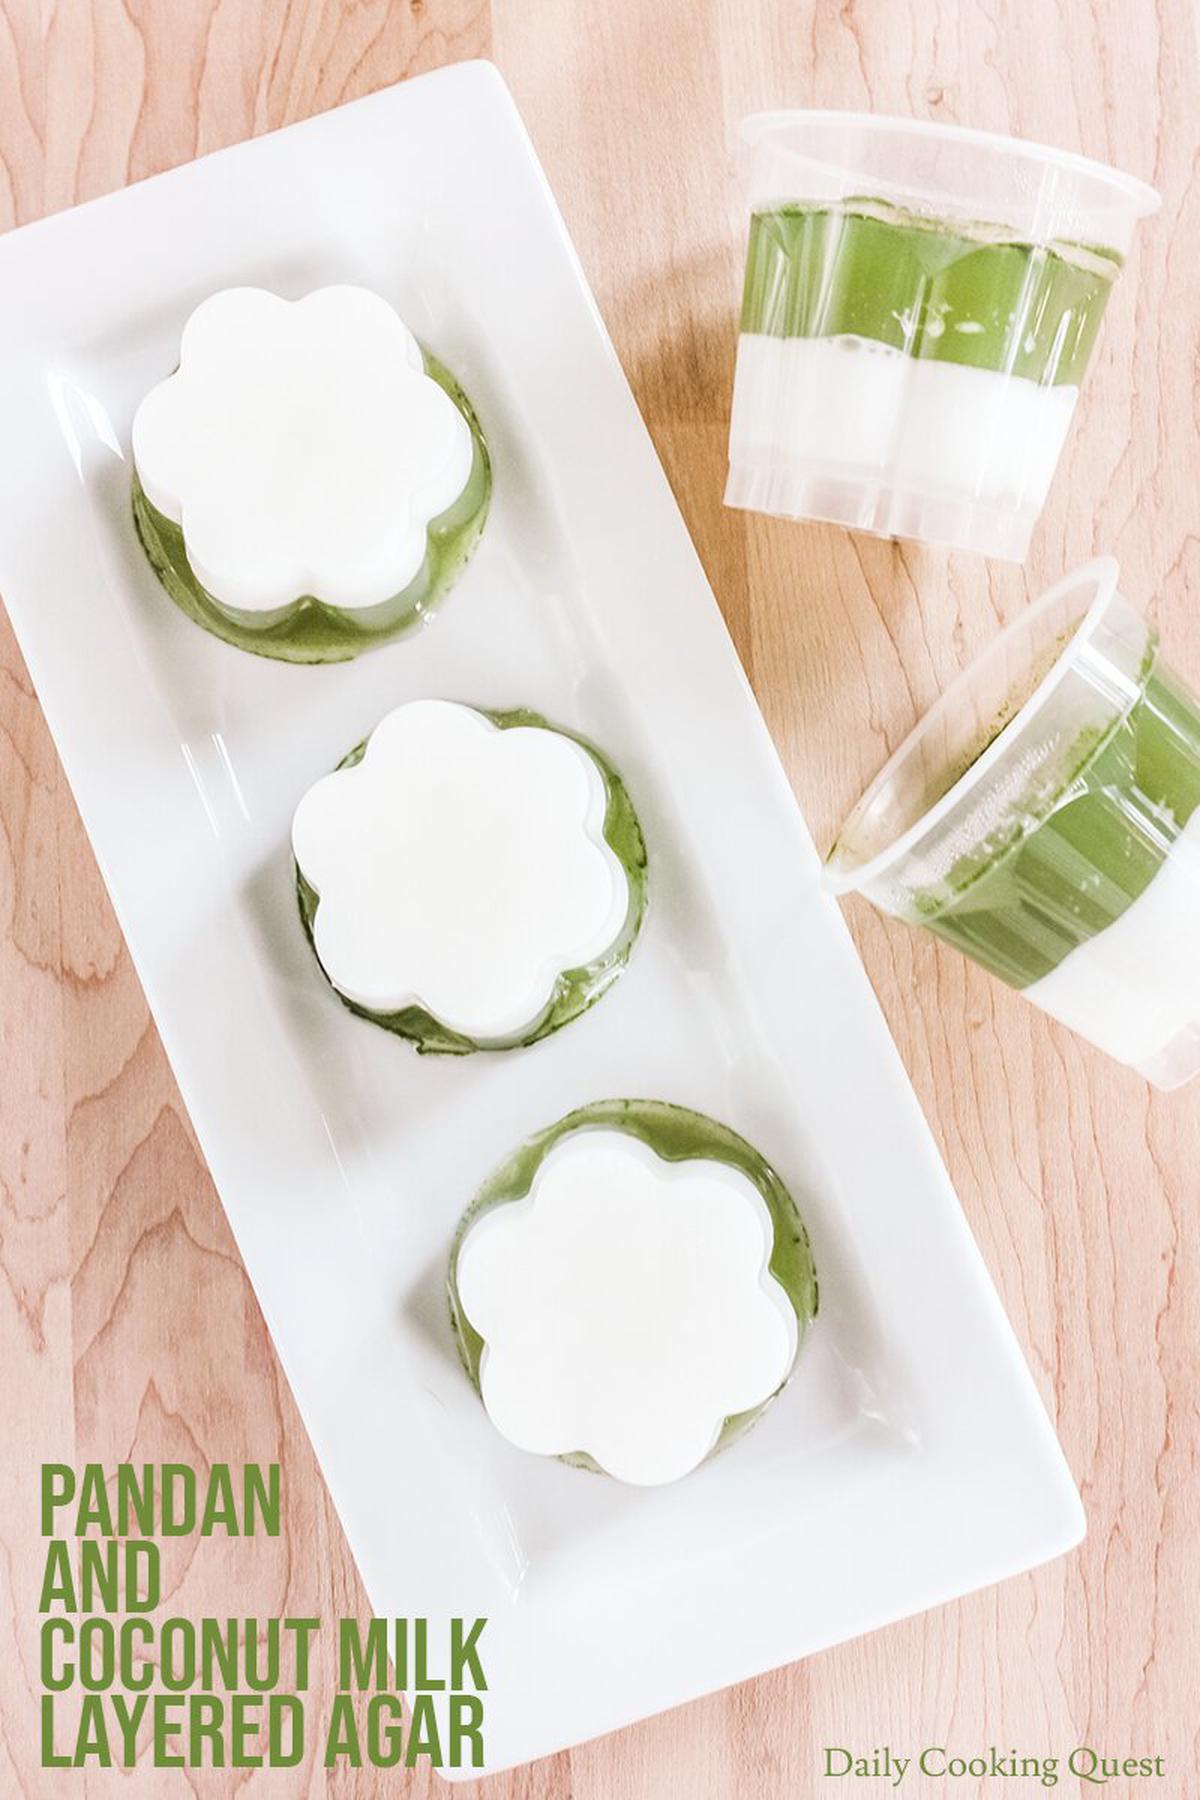
If you use pretty moulds, you can try un-mould the agar prior to serving. It gives off a more elegant and sophisticated feeling to this really humble dessert.
You can try using silicone muffin baking cups like this one from OXO if you want to serve your pandan and coconut milk agar unmoulded.
If unmoulding is not something you want to do, you can also pour into pretty glass jars and serve the agar without the need to unmould.
Pandan and Coconut Milk Layered Agar
Ingredients
- Pandan extract
- 50 gram fresh/frozen pandan leaves, cut into thin strips
- 1 cup water
- Green layer agar
- 250 ml (1 cup) pandan extract
- 200 ml water
- 50 gram sugar
- 3.5 gram agar-agar powder
- White layer agar
- 250 ml coconut milk
- 200 ml water
- 50 gram sugar
- 3.5 gram agar-agar powder
Instructions
- Pandan extract
- Puree together pandan leaves and water in a blender until the leaves are completely pulverized. Using a fine-mesh strainer (or a piece of cheese cloth), strain and squeeze pulverized pandan to get pandan extract. You should end up with 1 cup extract. (Note 1)
- Green layer agar
- Place pandan extract, water, sugar, and agar-agar powder in a small sauce pot. Bring to a boil while stirring so everything is well mixed. Pour into mould(s).
- Let the agar firm up a bit in the fridge before pouring the next layer. Usually 5 minutes should be enough.
- White layer agar
- Place coconut milk, water, sugar, and agar-agar powder in a small sauce pot. Bring to a boil while stirring so everything is well mixed. Pour into mould(s) on top of the firmed up green layer agar. Be as gentle as you can so the two layers don't end up mixed together.
Notes
- (1) Please don't use a regular strainer to strain pandan juice. The holes won't be small enough to stop pulverized leaves and will make the pandan layer bitter.


Comments
I have never heard of this, but I am loving the colour. Anything coconuty gets my vote!
Loved this simple dessert! Perfect for get-togethers or parties! They look so gorgeous.
These are so gorgeous! I love the layering. So perfect for a party!!
Love the colors to this Dessert. Sounds interesting too. Surely tasty and great as a party option too. Looks colorful and cute as well.
I love trying new things and this looks amazing! Such a pretty color too.
Can i do the opposite way. Pour the coconut layer and followed by pandan layer. Tq
Certainly, Shamala. :)
Hi, can I use store bought pandan extract instead of fresh pandan leaves?
Yes, Nelsi. Try 1/4 to 1/2 teaspoon depends on how dark green you want the color to be.
Love your step by step recipe. Would love to join your cooking workshop one day!
When I made the pandan extract by pureeing then straining, my pandan agar layer turned out bitter. I think all the pureed leaf parts went into the agar (probably my strainer had big holes?). Do you know if it is better to just boil off the pandan taste from pandan leaves and water? Or should I use cheesecloth to strain?
Hi Cheryl, if your strainer is not the fine-mesh type, it is better to line the strainer with a cheese cloth before straining to catch the small pureed pandan leaves. If you simply boil pandan leaves, you won't get the green color though the agar-agar will still taste nice, so it is up to you. :)
I love the idea & the colour. And then tested this recipe & it tasted very2 bitter with the pandan puree. I only able to eat the coconut bit & throw the green. Possibly need to just use the pandan essence 😅 instead of doing the puree.
Hi Anne, sorry it didn't work out. I really need to clarify in my recipe card to use a fine-mesh strainer when straining pandan juice or it well get bitter. Or use a cheese cloth to replace the fine-mesh strainer instead of using a regular strainer.
Leave a comment