Home / All Recipes / Japanese / Single Proof Asian Milk Bread
Single Proof Asian Milk Bread
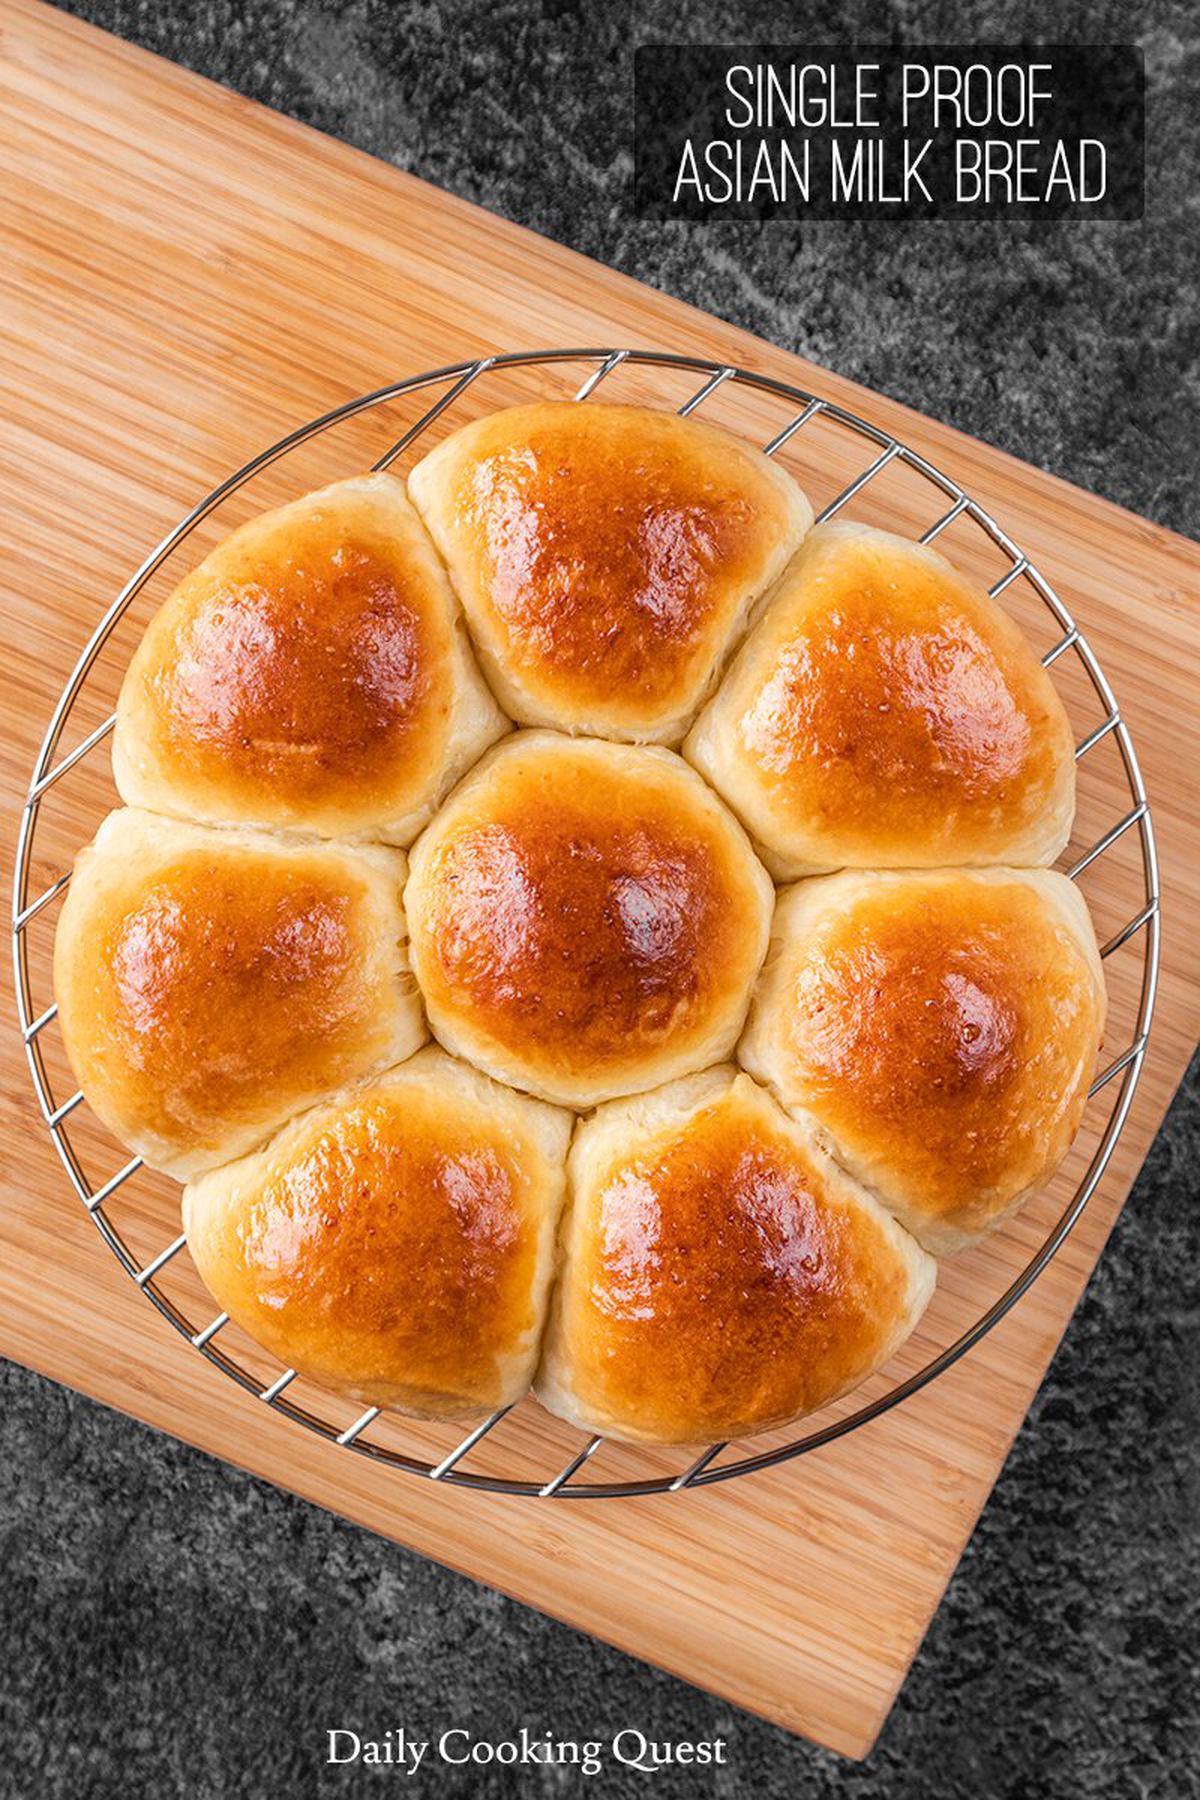
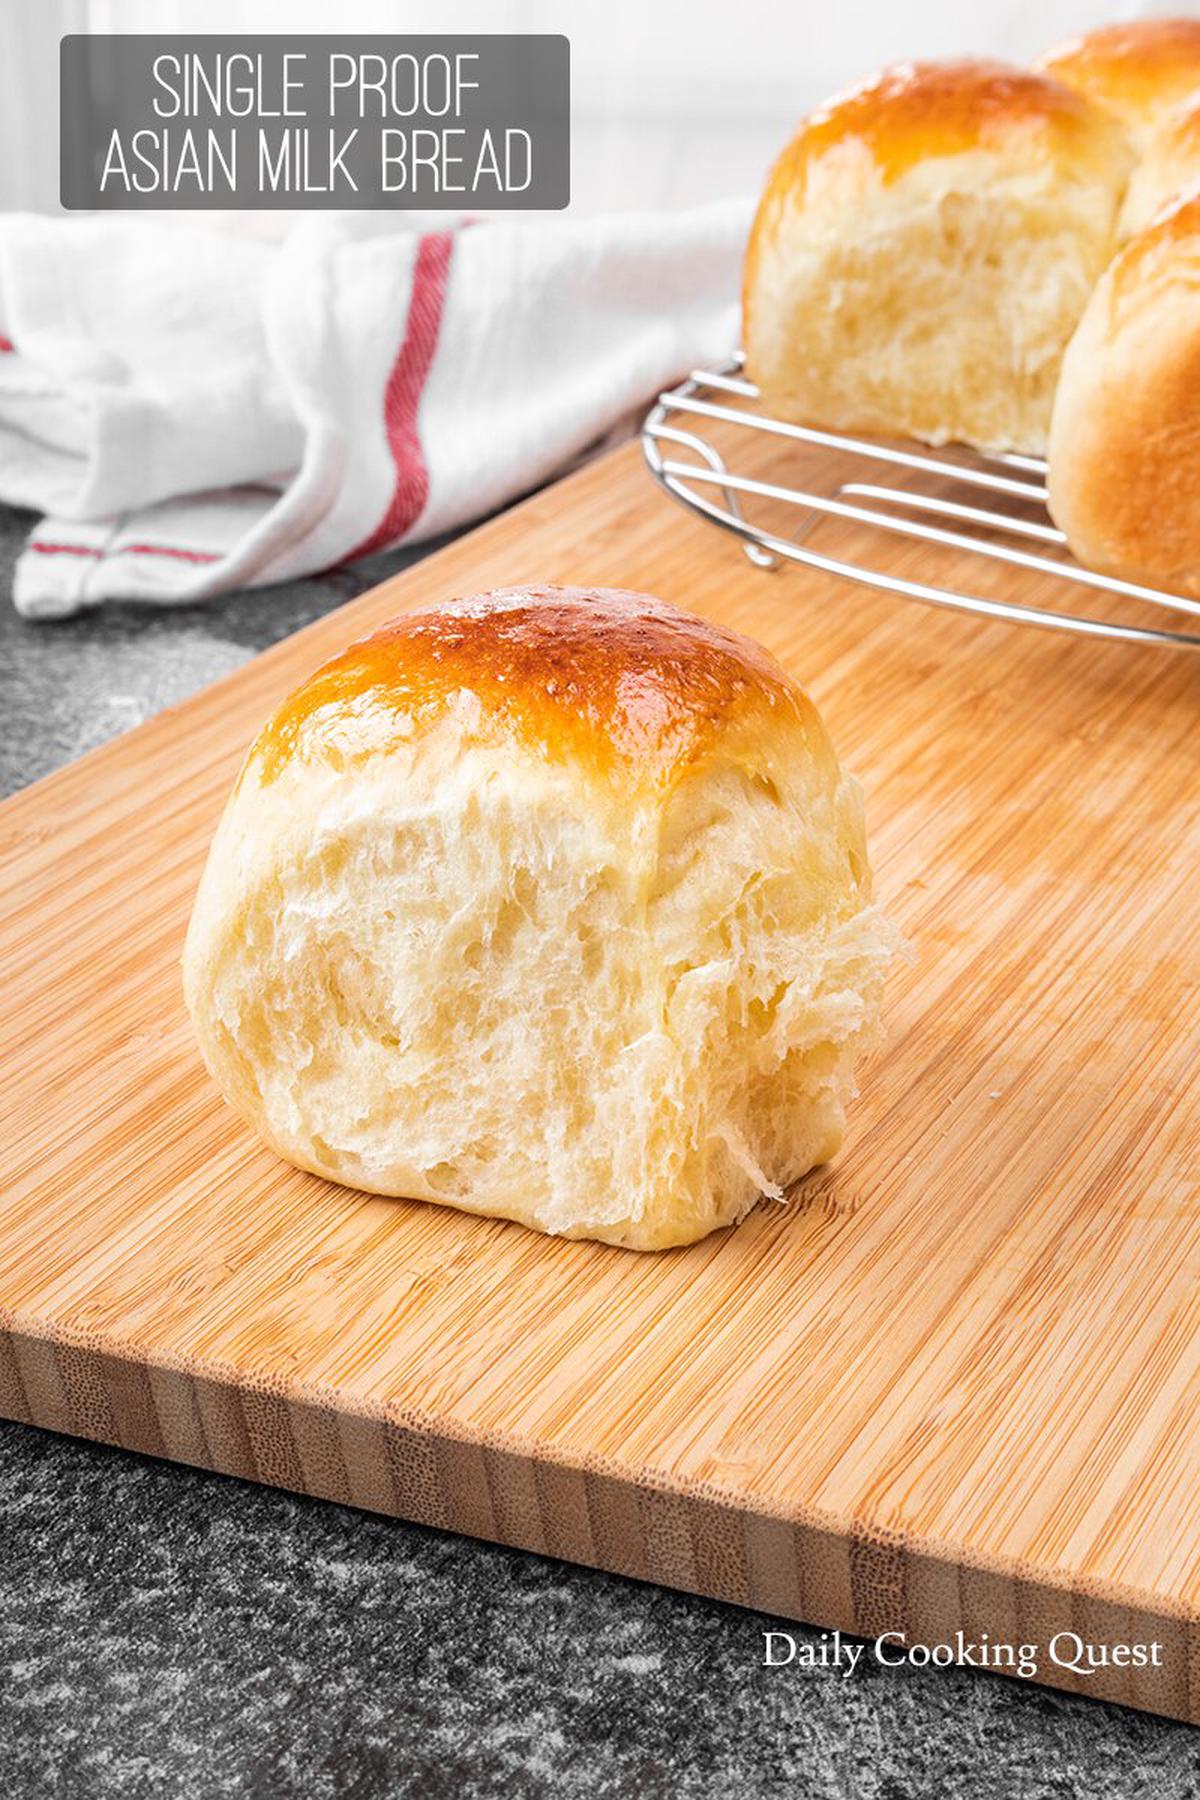
This recipe gives you soft and fluffy Asian milk bread that only needs a single proof so you can enjoy your breakfast with a batch of homemade bread so much faster.
Instead of crusty bread, my family prefers Asian milk bread, which is soft and fluffy with a glossy crust. Milk bread is the most common bread in most Asian countries, and we love them for breakfast.
Step into any Asian bakery and you will spot a dizzying array of milk bread varieties. You will see plain ones in a loaf or pull-apart form. And you will see milk bread filled with sweet and savory fillings.
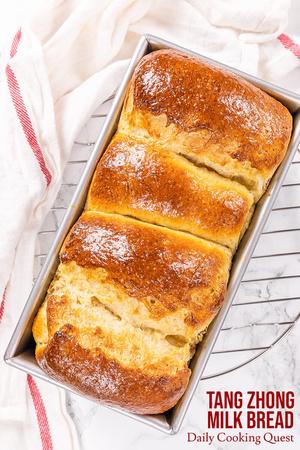
The most popular milk bread recipe is undoubtedly the tang zhong milk bread recipe, but today, I will share with you this single proof Asian milk bread recipe. You can bake a successful milk bread with only a single proof, which means you can enjoy a batch of homemade milk bread at half the usual time.
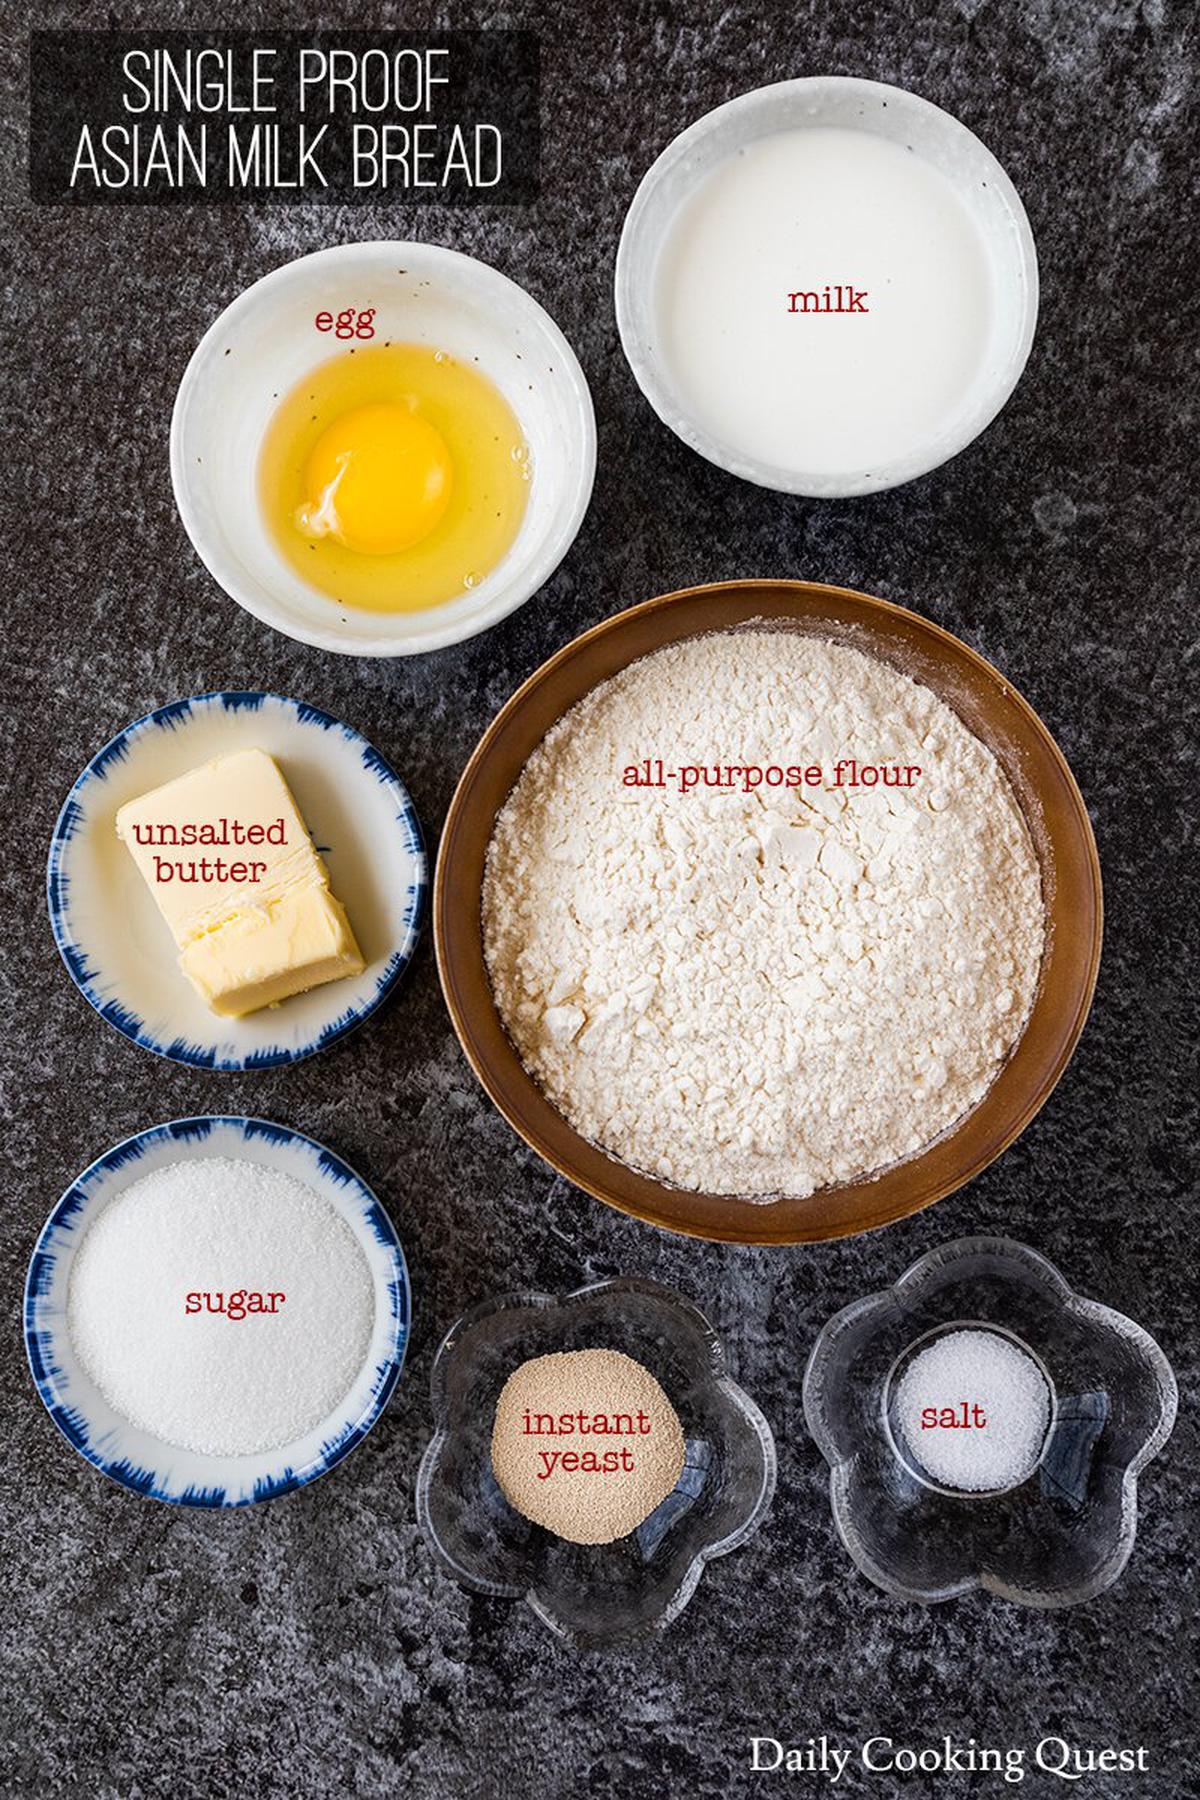
Ingredients for single proof Asian milk bread
This is a very basic bread recipe using all-purpose flour/bread flour, sugar, salt, instant yeast, egg, milk, and unsalted butter.
I stock all-purpose flour in my pantry, so I almost always bake this bread with all-purpose flour. But you will get an even better result from bread flour, so definitely use that if you have bread flour in your pantry.
I mainly use Saf instant yeast gold as this particular yeast is more suitable for sweet dough like this milk bread. I buy them in a 1-pound bag and always store the yeast in my freezer. If you often bake milk bread at home like me, it can be more economical this way.
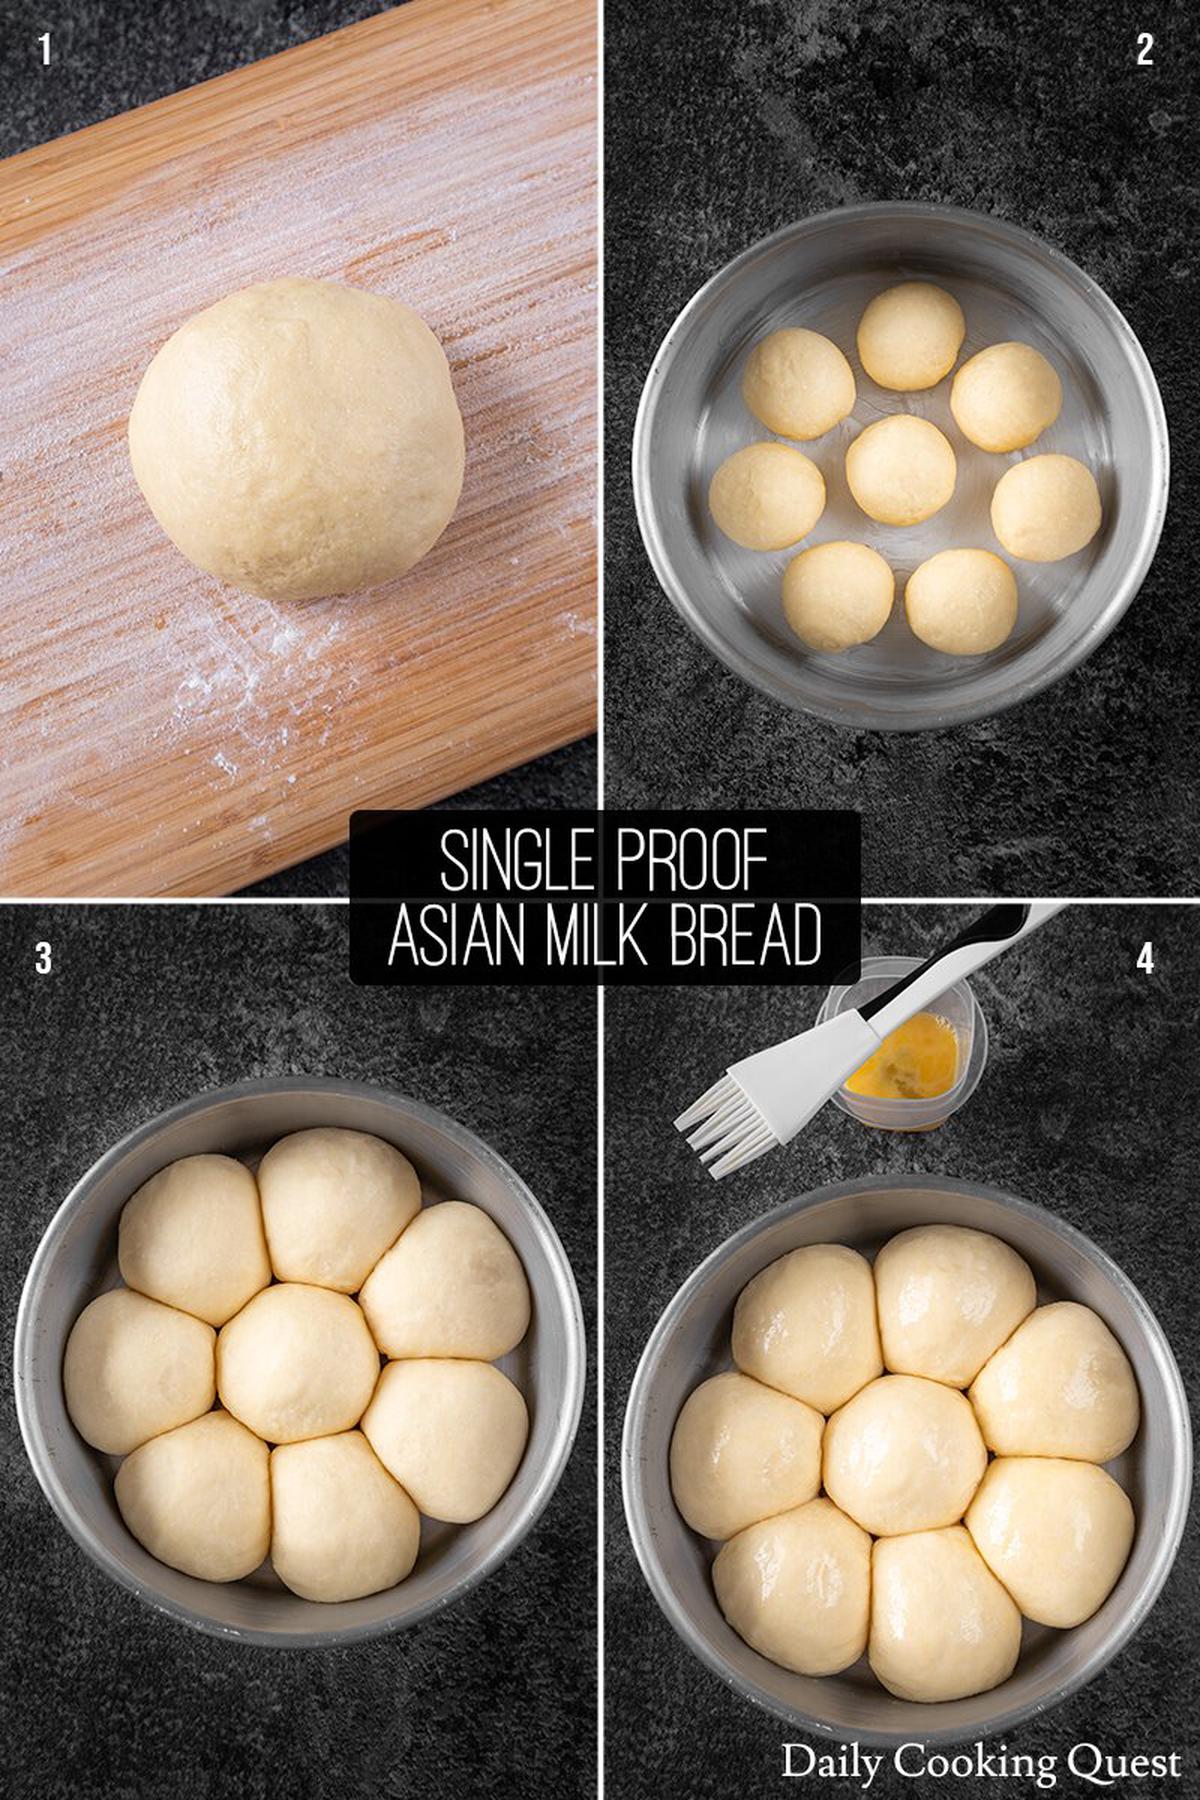
Step-by-step to knead, shape, and bake the milk bread
1. Knead the dough
Place all-purpose flour, sugar, salt, and instant yeast in a large mixing bowl. Make a well, add in the egg and warm milk, stir into a shaggy mass, and knead until the dough is smooth. Add unsalted butter and continue kneading for 15-20 minutes, or until the dough is smooth and elastic.
2. Shape the dough
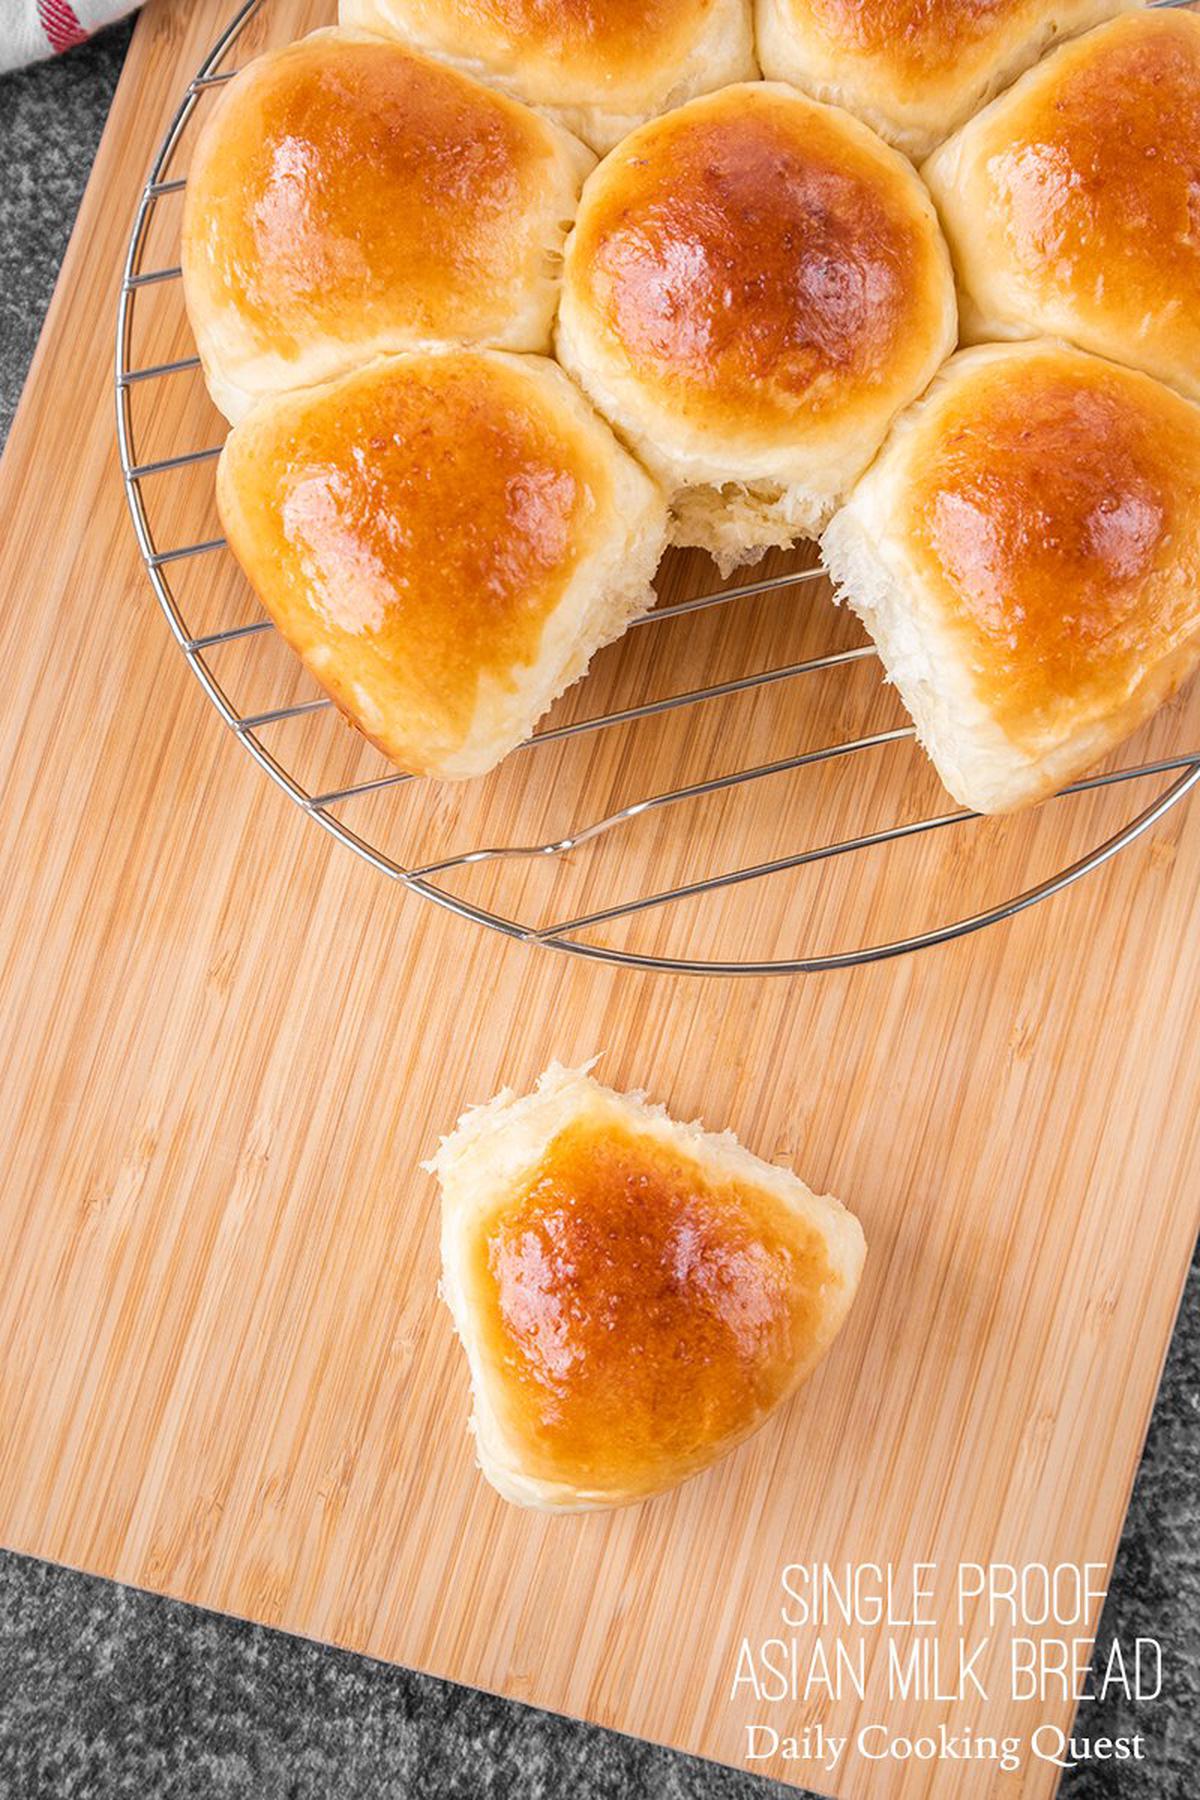
Grease an 8"x3" round pan with butter. Divide the dough into eight pieces, roll into balls, and arrange in the pan.
You can also use a 9"x2" round pan or an 8"x8" square pan. It may be easier to divide the dough into nine pieces for an 8"x8" pan.
3. Proof the dough
Cover the pan with a wet kitchen towel, proof for one hour in a warm kitchen, or until the dough fills the pan.
4. Bake the bread
Preheat the oven to 175 Celsius (350 Fahrenheit). Brush the top of the dough with the egg wash, and bake for 20-25 minutes, or until the top is golden brown.
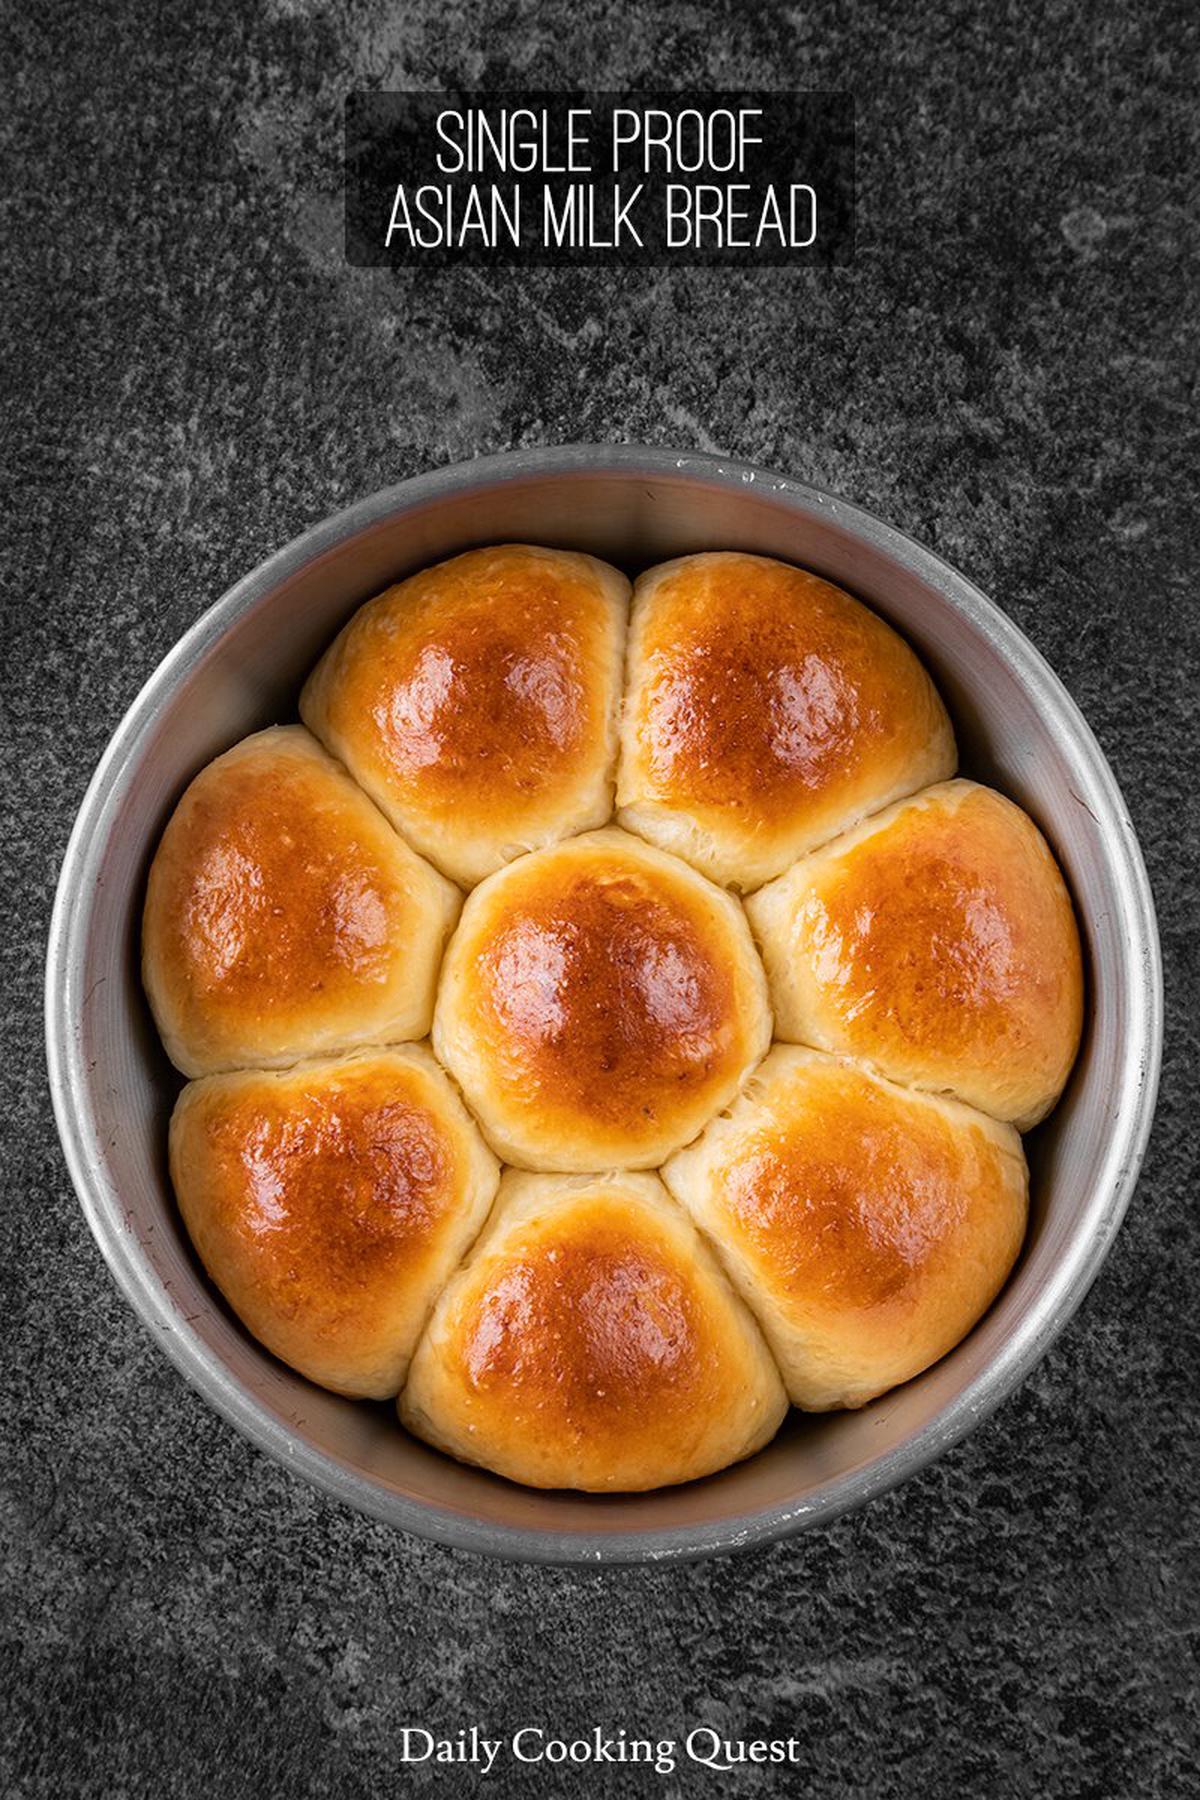
Serving, storing, and reheating leftover milk bread
Remove the bread from the oven, cool in the pan for 10 minutes, then gently remove from the pan and cool on a wire rack.
You can serve milk bread plain, or with a pat of butter and fruit preserves. My family’s favorite is peanut butter and strawberry preserves combo. For a light meal, I love making sandwiches with thinly sliced cheese and ham. Choose any cheese and deli cuts that are good for sandwiches.
If you have any leftover, wait until they are completely cool before storing. Store any leftover in an airtight container. It will stay fresh for up to 3 days at room temperature. If you love warm bread, please reheat in a microwave for 10 seconds before serving.
Milk bread with a sweet or savory filling
You can treat this milk bread recipe as your basic dough recipe and fill them with your favorite fillings.
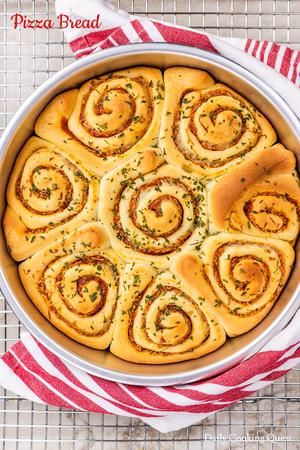
For a savory filling, try using this dough to prepare sausage bread, ham and mayonnaise bread, pizza bread, or curry chicken bread.
If you love sweet filling, you can try black sesame seeds bread, orange sugar bread, taro bread, or chocolate and banana bread.
Single Proof Asian Milk Bread
Ingredients
- 260 gram (9 oz) all-purpose flour/bread flour
- 30 gram (1 oz/2.5 tablespoon) sugar
- 2 gram (1/3 teaspoon) salt
- 3.5 gram (1 teaspoon) instant yeast
- 1 large size egg, room temperature
- 1/2 cup (120 ml) warm milk
- 30 gram (2 tablespoon) unsalted butter, room temperature
- egg wash from 1 egg mix with 1 teaspoon water
Instructions
- Knead the dough: Place all-purpose flour, sugar, salt, and instant yeast in a large mixing bowl.
- Make a well, add in the egg and warm milk, stir into a shaggy mass, and knead until the dough is smooth.
- Add unsalted butter and continue kneading for 15-20 minutes, or until the dough is smooth and elastic.
- Shape the dough: Grease an 8"x3" round pan with butter. Divide the dough into eight pieces, roll into balls, and arrange in the pan. (Note 1)
- Proof the dough: Cover the pan with a wet kitchen towel, proof for one hour in a warm kitchen, or until the dough fills the pan.
- Bake the bread: Preheat the oven to 175 Celsius (350 Fahrenheit). Brush the top of the dough with the egg wash, and bake for 20-25 minutes, or until the top is golden brown.
- Cool the bread: Remove the bread from the oven, cool in the pan for 10 minutes, then gently remove from the pan and cool completely on a wire rack.
- Store the bread: Store any leftover in an airtight container. It will stay fresh for up to 3 days at room temperature. If you love warm bread, please reheat in a microwave for 10 seconds before serving.
Notes
- (1) You can also use a 9"x2" round pan or an 8"x8" square pan. It may be easier to divide the dough into nine pieces for an 8"x8" pan.


Comments
This bread looks so light and fluffy. I can't wait to try it.
I love the incredible shine on these super fluffy rolls!
I love how soft, fluffy and delicious this looks! Tempted to make a batch right now!
Milk Bread sounds so delicious. Love the fact that you only require single proofing!
Oh wow! Look at the texture of these milk bread rolls - they look absolutely phenomenal! Have you tried making these with a flax egg or egg sub? I'm just curious as my daughter doesnt eat eggs...
Hi Shashi, instead of 1 egg, you can try using 60 gram yogurt (regular or Greek) or 60 gram cream cheese. Either option will give you the same soft and fluffy bread.
This bread is my all-time favourite! Thanks for the great recipe!
I tried this recipe with less butter and sugar in an attempt to be slightly healthier (1.5 tablespoons butter and 1.33 tablespoons sugar), and they were still sooo amazing!! This was my first time baking bread that required yeast, but this recipe was really easy to follow! The rolls were slightly less flavorful (which is what I intended) but still really soft and yummy :)
This bread is absolutely wonderful - the texture is superb, I really appreciated all of your amazing tips!
Looks so delicious! Can't wait to try it.
That golden crust is everything! They are soft and fluffy like a pillows, and we are eating it as is. Sometimes I put a bit of butter if any bun is left:)
This is absolutely gorgeous. It looks so much like the Indian pav that we eat regularly. I am definitely going to try this out as I love fresh baked bread.
The recipe is amazing! I made this bread today: it is all gone. It seems that I will be making it again tomorrow. I highly recommend trying this recipe. Yummy and delicious :)
Hi Anita, my breads doesn't come out fluffy, wonder what's wrong, it seem dense...it is not enough kneeding or proofing time or wrong milk (warm up fresh milk)
Hi Carmen, if you all the measurements are correct, the most suspicious culprit is usually proofing time.
Proofing time is approximate. It is best to proof until the dough doubles, and the time it takes could be longer in winter, and inversely, it may need a shorter time in summer.
Softly poke the dough with your fingertip leaving a small indent. If the indentation slowly bounces back almost the entire way, the dough is ready.
If you poke it and there is no or little bounce back, it is over-proofed. If you poke the dough and it feels firm and leaves little impression, it is under-proofed and needs more time.
Another possibility is the protein content of the flour. Not all all-purpose flour has the same protein level. For reference, I usually stick to Gold Medal brand. If it is not too much of a hassle, using bread flour instead of all-purpose will give a better success rate since they are more guaranteed to have a high protein, and thus, will create more gluten.
The milk shouldn't be the problem unless you warm it up too much and the hot temperature kills the yeast. If you have a thermometer, it is always better to confirm that you don't accidentally end up with a too hot milk.
Can I proof it overnight?? So excited to make this!
Hi Clarissa, I haven't done it myself, but I think it should be doable. Just be sure to return the bread to room temperature before baking.
hi Anita. 260 grams of flour seems too little. I ended up having a very sticky dough, not able to knead it. I had to keep adding flour.
Hi She Gan, it highly depends on brands and to some extent, the season when you bake the bread. I notice that in winter when the humidity is very low, I can use less flour, while during summer, I usually need more flour. Definitely feel free to increase or decrease the amount of flour to make the dough as workable as you wish. :)
Hi There, can i use active yeast instead of instant yeast? thank you so much! can't wait to try!
Hi Lisa, you can use active yeast too. Just be sure to activate/bloom the yeast first by mixing together warm milk, active dry yeast, and 5 grams sugar. Let rest for 20 minutes until foamy. In the main dough, you will now only need 25 grams sugar instead of 30s gram.
So fluffy and delicious! The top ended up a bit darker than I expected, but that's probably on me lol. I brushed with butter and plain egg, without the water, and sprinkled a bit of salt overtop :D
I made this today following word for word & it has been the best amongst I have attempted so far. My family absolutely loved it! Thanks for sharing!
Made this using my stand mixer, so the kneading with the butter was only about 7 minutes. Rolls came out fluffy and so delicious. Nine servings were consumed by two people in one night...LOL!
Great recipe. Turned out perfect. Question... can u freeze this bread.
Hi Kennie, yes you can. Wait until the bread is completely cool, then wrap with 2-3 layers of saran plastic wrap, and store in the freezer. If you want to, you can even divide the 8 buns into individual bun for ease. Since I have a microwave, I usually just remove the frozen bread and use the microwave for about 15-30 minutes (this depends on individual microwave) to bring the bread back to it soft and fluffy state.
Hi! My dough was extremely sticky and I was unable to form balls. I had been kneading it with a fork for almost half an hour. Is there something I did wrong? I ended up having to keep adding more flour, it turned out nice, but it still tasted as if there was too much flour. How could I fix this?
Hi Miki, I think there could have been a slight misunderstanding with the instruction. We only use chopsticks/fork to stir the dough into a shaggy mass. Then, the kneading part should use hands (or an electric stand-mixer if you have that).
To prevent adding too much flour, you can try resting the dough after stirring into a shaggy mass for 10-15 minutes, then knead (with hands/mixer). Sometimes letting the dough some time to absorb water helps a lot, it won't be too sticky to knead, and you won't end up adding too much flour.
Hi Anita, can I use this recipewith bread maker, perhaps using the menu/setting for brioche dough? Or, do you have any other suggestion? Thanks!
Hi Helena, I don't have a bread maker so I have never tried it, but I believe you can use the bread maker to knead the dough so you don't need to use hands to knead it. I would try that (knead the dough with the bread maker), but follow the remaining steps according to the written recipe.
Kneading the dough was fun. Although I was a bit bothered how it was very sticky at first so i thought sprinkling some more flour would work, but then I added the butter and it made the dough perfectly smooth and kneadable.
When it was done baking, I took a piece and tried it. I realized that the bread was yellowish and did not turn out to be fluffy, the interior looked crumbly and dense, although it was still soft.
However, I think that it’s my fault that it turned out this way. I think I didn’t knead it enough and have probably added too much flour. I will try to make this recipe again later on, but nevertheless, I give it 5 stars!
For the butter that we add to the dough, do we use melted butter or just soft butter? Also, what kind of milk do you recommend? Full fat milk? Evaporated milk?
Hi Cheryl, I use room temperature (i.e. soft) butter, not melted butter. I usually use full cream/full fat milk.
Leave a comment