Home / All Recipes / Chinese / Susu Kacang Kedelai - Homemade Soy Milk
Susu Kacang Kedelai - Homemade Soy Milk
An easy and straightforward soy milk recipe that anyone can follow. Once you learn how to make your own soy milk, you will never buy another store-bought soy milk.
Soy milk is a healthy and delicious milk alternative to cow’s milk. So this is a perfect choice for people with lactose intolerance, and also for vegans who prefer plant-based milk.
Nowadays, every single grocery store carries soy milk, and you may wonder why I bother to make my own. I have two reasons: (1) it is so simple to make your own soy milk, and (2) this soy milk recipe will give you the soy milk flavor that you get in Asian countries and Asian grocery stores.
What's in my homemade soy milk recipe
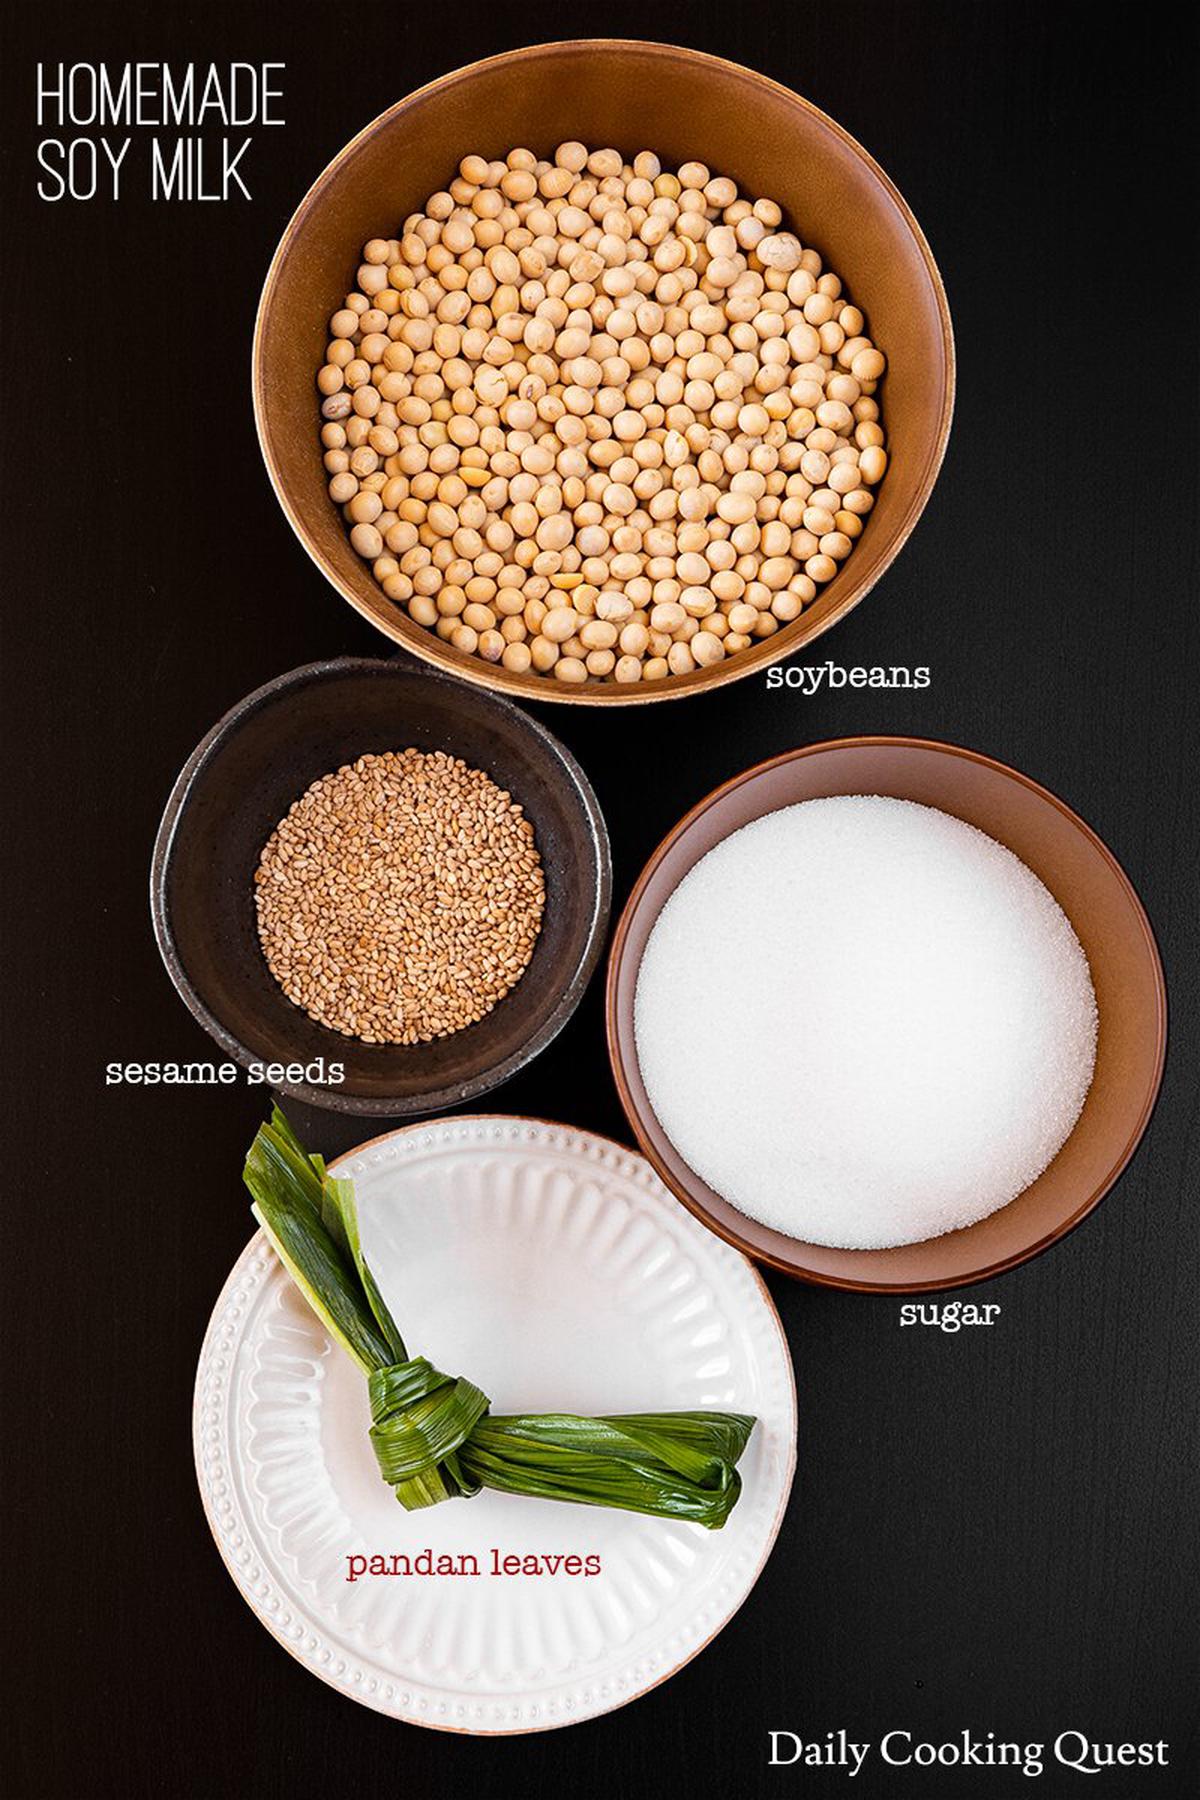
Technically, you can make homemade soy milk with only two ingredients: soybeans and water. But to get that Asian soy milk flavor, we will need to add sesame seeds and pandan leaves. I also add sugar for sweetened milk, though you are free to omit the sugar completely if you prefer unsweetened soy milk.
The quality of your soy milk depends on the quality of your ingredients, especially the quality of the soybeans. If at all possible, try using non-GMO and organic soybeans for the best result. The soybeans should be uniform in size, yellow in color, and about as big as frozen peas.
You can definitely make passable soy milk with tap water, but for a little bit of extra effort, you can get better and more delicious soy milk if you use filtered water or spring water. You can literally taste the difference if you make two batches of soy milk, one with tap water, and another with filtered/spring water. You won’t be using tap water once you have tried the later.
Making your own homemade soy milk
Making homemade soy milk is a pretty straightforward process, and once you master it, you’ll never want to go back to store-bought soy milk, ever.
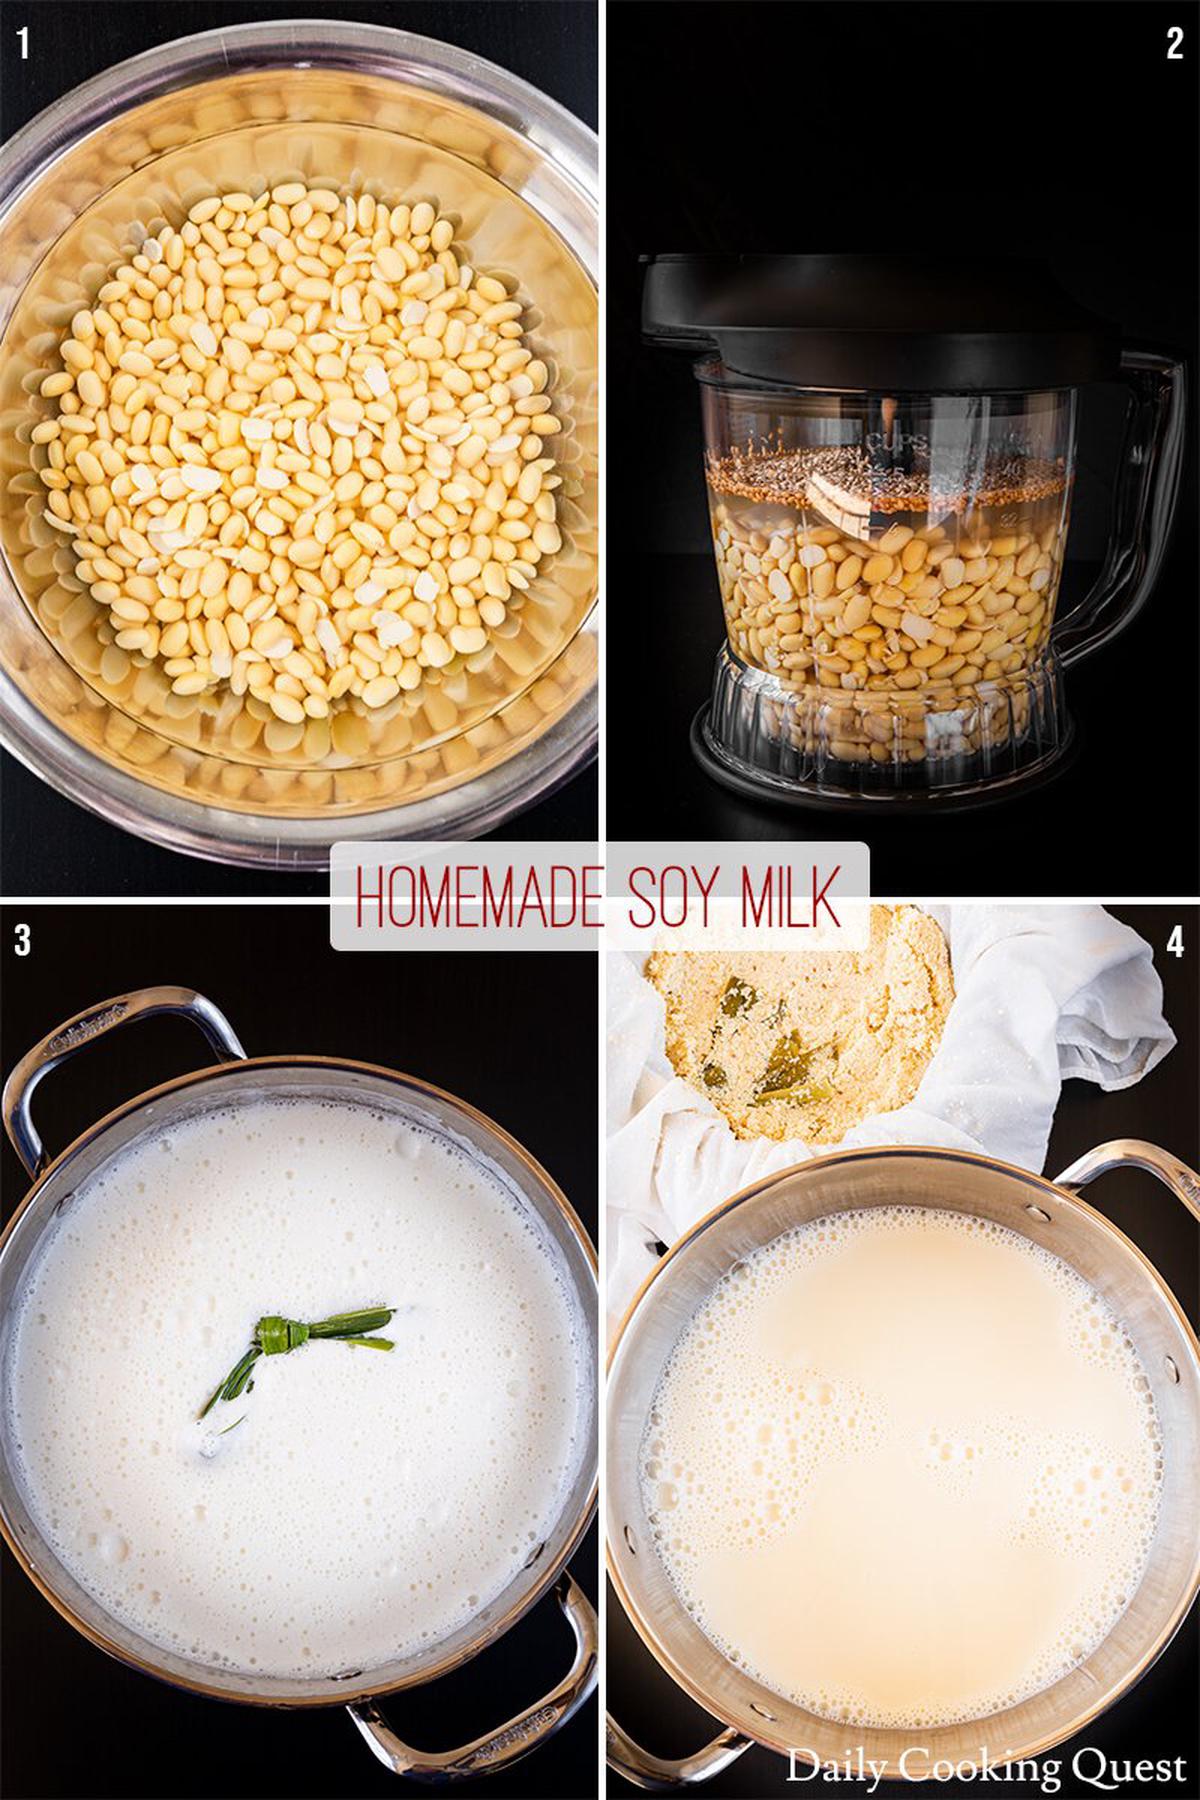
1. Soak the soybeans
Wash the soybeans and remove any dirt/impurities and transfer to a large mixing bowl. Cover the beans with water by 2 inches (5 cm), and let the soybeans soak overnight at room temperature.
Once the beans are done, you should notice that they have swelled up. The beans should split easily if you squeeze them. Try splitting a couple of the beans, and if the inside is flat the beans are ready, if the inside is still concave it means the beans need a longer soak.
Soaking time varies from batch to batch, but I usually let my soybeans soak for a full 12 hours.
Drain the soaked beans through a strainer, and reserve the soaking water. Add more water to the reserved soaking water until we have a total of 10 cups.
2. Grind the soybeans
Grind the soybeans and sesame seeds with about 3 cups of reserved soaking water in a blender. Puree until the mixture resembles a milkshake. Pour the blended soybeans mixture into a large soup pot. Rinse out the blender with about 1 cup of reserved water and add it to the pot as well. Add remaining reserved water to the pot as well.
3. Cook the soybeans
Add knotted pandan leaves into the soup pot, and turn on the heat to a medium. Once the soybeans mixture boils, reduce the heat and simmer for 15 minutes.
When bringing the mixture to a boil, please be vigilant. The first time it reaches a boiling point, the mixture will foam a lot, almost like the frothy foam head of a beer. You will want to quickly reduce the heat and stir until the foam deflates. It can be a pain to clean up if it boils over.
4. Strain the soy milk
The best way to strain the soy milk is if you can place a colander/strainer over another large soup pot. Line the colander/strainer with a piece of muslin cloth, or other suitable pressing cloth. You will want to drape the edges of the cloth over the pot’s rim.
Pour the hot cooked soybeans mixture into the lined colander/strainer. Pause when the milk fills the colander/strainer, and let it strain. Repeat until all the soy milk is strained.
Once it is comfortable enough to handle, gather the cloth and twist to extract all the soy milk. Please be careful and don’t burn your hands.
The remaining soybean pulp is called the lees, or okara. There is no need to discard this since okara is very healthy and can be transformed into more delicious dishes.
5. Cook the strained soy milk
Bring the soy milk to a simmer over medium heat. If you want sweetened soy milk, you will want to add the sugar now. Then reduce the heat and simmer for another 15 minutes, stir to ensure that all the sugar is completely dissolved.
Serving and storing soy milk, and what can you do with okara
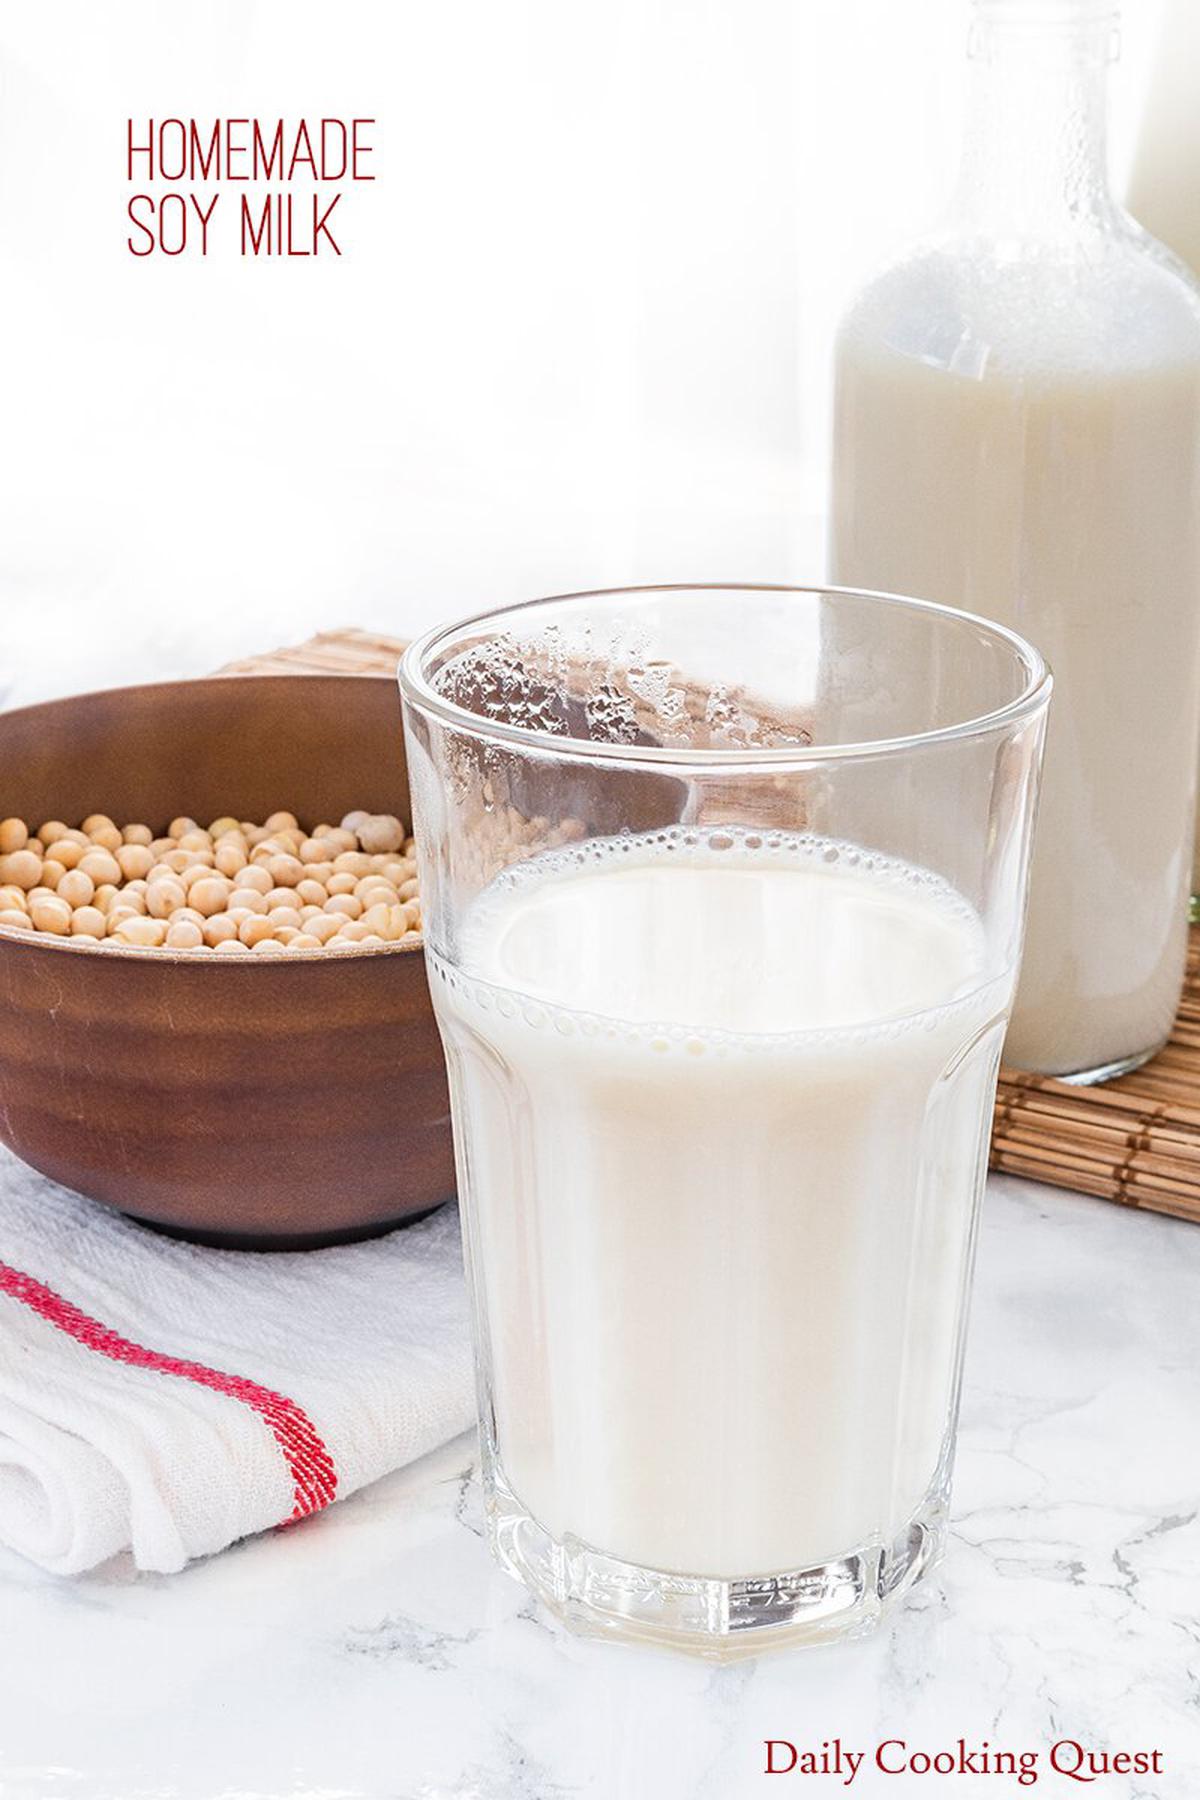
I store my homemade soy milk in sterilized glass bottles. You can serve the milk warm or chilled. Store any leftover soy milk in the fridge, and they should be fresh for up to 1 week at the minimum.
If your soy milk doesn’t stay fresh for at least 1 week, either your bottles are not sterilized, or you are using a less than great quality soybeans. Using good quality soybeans not only ensure a great tasting milk, it will also ensure your soy milk stays fresh for so much longer.
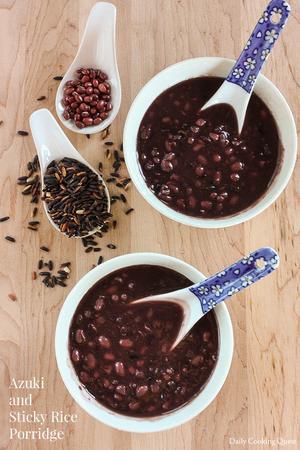
The leftover soybeans pulp from making homemade soy milk is called soybeans lees or okara. You can make delicious dishes out of okara, so don’t throw them away. You can try some of these okara recipes:
Susu Kacang Kedelai - Homemade Soy Milk
Ingredients
- 250 gram soybeans, preferabbly non-GMO and organic variety
- 10 cup water, preferably filtered water or spring water
- 2 1/2 tablespoon sesame seeds, toasted
- 3 pandan leaves, knotted
- 10 tablespoon sugar (optional, if you want sweetened soy milk)
Instructions
- Soak they soybeans. Wash the soybeans and remove any dirt/impurities and transfer to a large mixing bowl. Cover the beans with water by 2 inches (5 cm), and let the soybeans soak overnight at room temperature, about 12 hours. The beans should swelled up and easily split when squeezed, and the inside of a split bean should be flat. Drain the soaked beans through a strainer, and reserve the soaking water. Add more water to the reserved soaking water until we have a total of 10 cups.
- Grind the soybeans. Grind the soybeans and sesame seeds with about 3 cups of reserved soaking water in a blender. Puree until the mixture resembles a milkshake. Pour the blended soybeans mixture into a large soup pot. Rinse out the blender with about 1 cup of reserved water and add it to the pot as well. Add remaining reserved water to the pot as well.
- Cook the soybeans. Add knotted pandan leaves into the soup pot, and turn on the heat to a medium. Once the soybeans mixture boils, reduce the heat and simmer for 15 minutes.
- Strain the soy milk. Strain the soy milk with a really fine mesh strainer (or line the strainer with a muslin cloth) to another clean pot to get a clear liquid. Squeeze as much of the milk as you can, be careful not to burn your hands. (Note 1)
- Cook the strained soy milk. Bring the soy milk to a simmer over medium heat. If you want sweetened soy milk, you will want to add the sugar now. Then reduce the heat and simmer for another 15 minutes, stir to ensure that all the sugar is completely dissolved.
- Serving and storing soy milk. Serve homemad soy milk warm or chilled. Store the milk in sterilized glass bottles in the fridge. The soy milk should stay fresh for at least 1 week. (Note 2)
Notes
- (1) The leftover soybeans pulp from making homemade soy milk is called soybeans lees or okara. You can make delicious dishes out of okara, so don’t throw them away.
- (2) If your soy milk doesn’t stay fresh for at least 1 week, either your bottles are not sterilized, or you are using a less than great quality soybeans. Using good quality soybeans not only ensure a great tasting milk, it will also ensure your soy milk stays fresh for so much longer.


Comments
Hi! Is it really possible to keep it until 1 week and the soymilk not yet damaged? Because I always making soymilk, within 3 days inside the fridge, the milk spoiled already. Thanks
Hi Antoni, I always store them in quart size (32 oz.) mason jars and in the fridge. They never spoil on me yet, and I even sometimes push it to 10 days. I guess just make sure the glasses are really clean?
This was much easier than I thought it would be. Homemade and delicous.
I always though DIY dairy free milks were so complicated. Thanks for breaking it down for me!
This looks delicious! Can't wait to try it.
Homemade is always the best. Thank you so much for sharing.
We make our own almond milk a lot, but I never thought to make soy milk. Definitely trying this.
I had no idea it was this easy to make soy milk! I'll definitely be trying this recipe soon!
What an interesting and completely useful recipe! Thanks so much for this, can't wait to try it out!
Love this recipe! It was so easy, yet so delicious! I will definitely be making again!
How great to be able to make your own non-dairy milk from scratch!
learned something new today that okara are the left over grounded soybeans. Can we freeze the milk?
Hi Sadia, it depends on what you want to do with the frozen soy milk. Once frozen, there is a high chance that soy milk texture will change. If you enjoy a smooth taste of soy milk, that texture will be lost once thawed. But, if you are planning to use soy milk in recipes such as for baked goods, it is actually okay to use thawed frozen soy milk since the change in texture won't be noticeable.
I never realized soy milk was so easy to make! You've inspired me to give this a try; looks delicious!
Looks amazing. Cant wait to try it out ... thank you 😍
I used to love soy milk as a child, but found store-bought far too sweet once I grew up. Will definitely be trying this over the weekend! Thanks for the recipe!
Hi Anita, would this recipe work with dried soybeans or only fresh soybeans? Thanks!
Hi Miki, it only works with dried soybeans.
Recently I discovered that my soy milk settles below the container and then water like stuff on top,that is to say it has two demarcation .what is the cause cos it's making feel discouraged.
Hi Cally, I think your soy milk started to coagulate. The most typical culprit for soy milk (or any milk) to coagulate is the presence of acid. If the soy milk looks okay when in the cooking pot and only starts to coagulate once in the container, it is possible that the container has some trace acid. If possible, try storing the milk in sterilized glass jars.
Most recipes instruct to discard the water that beans are soaked in and rinse them. Is there a reason you reuse the soaking water? What is the purpose of the pandan leaves?
Hi J, I usually reuse the soaking water since it is wasteful to throw it away, but you can totally discard it and use new water. The pandan leaves give the soy milk a nice flavor. For people growing up in Indonesia, Malaysia, and Singapore, our soy milk comes with this flavor. If you want just plain soy milk flavor, feel free to omit the pandan leaves.
Leave a comment